|
For those in the
Building Science Industry.
Jan. 2014
Update on Building Science numbers we have achieved
to this point
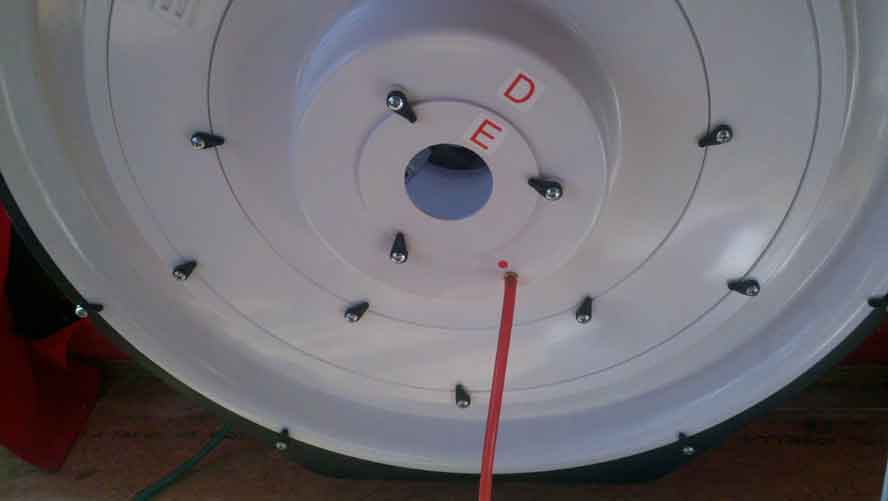
Blower door
reading - 108 CFM50
0.71 ACH @ 50PA
0.12 CFM per ft2 floor area, 0.04 CFM per ft2
surface area
Correlation Coefficient = 0.99323
To have hit
the Passavhaus standard we would have to be at 0.6
ACH@50 Pa, we came close but on the total KWh's we
may hit the standard. Have been in the house
now for 15 months and total KWh's are averaging 12 KWh per
day or 400 per month app. This includes baseload, mini split heat,
and electric DWH. I believe when we get our
solar hot water in we should cut this usage by
40-50%.
Our heating load for
each winter we have been in the house has been around 5
million btu's. and since we heat with wood that
amounts to about 1/5 cord of wood. This figure is a
little skewed in that my wife likes to keep the house at
75-78 degrees. The heating cost should be close to
zero fossil fuel usage when we get out solar hot air
collector installed on the south wall. We only need a
small fire when temps are in low 20's. The Passavhaus
heat standard is 4755 btu's per sq ft so we are real close
Our HERS rating comes in at 38 and
our Manual J calculation is under 10,000 Btuh
Here was my thought
process on the
design and building of the home
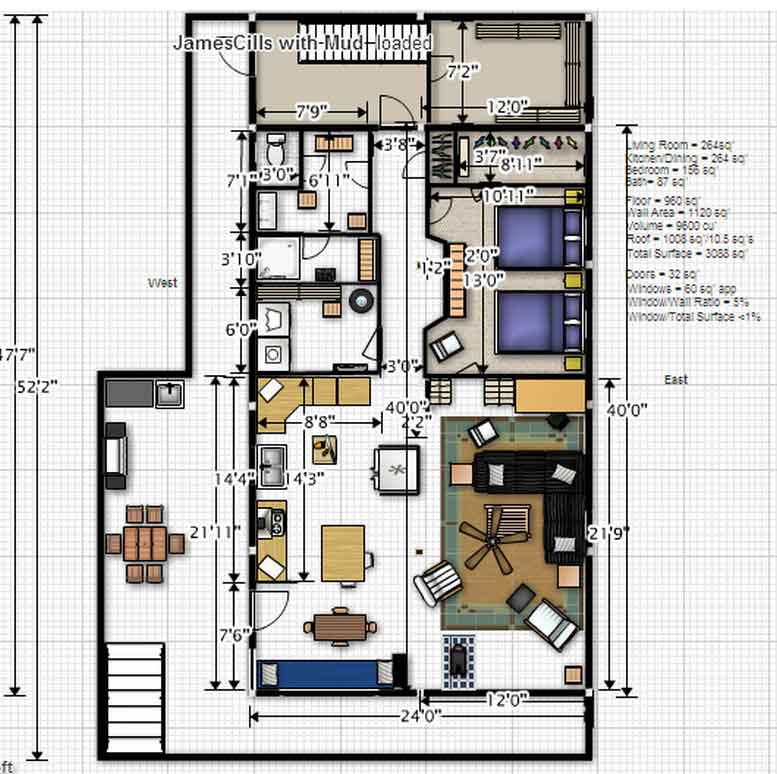
1. Floor plan would be just
large enough for two people plus the furniture we had.
One bedroom so the kids could not move back in, very
important.
2. Building as small as we could would save on
construction costs, save on energy cost, and be easier
to maintain and clean.
3. By constructing the shell to a high energy standard
we would not need expensive ground source heat pump,
large south facing glazing for passive solar heat (you
then need expensive window coverings to keep heat loss
low at night), or any other fancy energy measures to
have low heating bills.
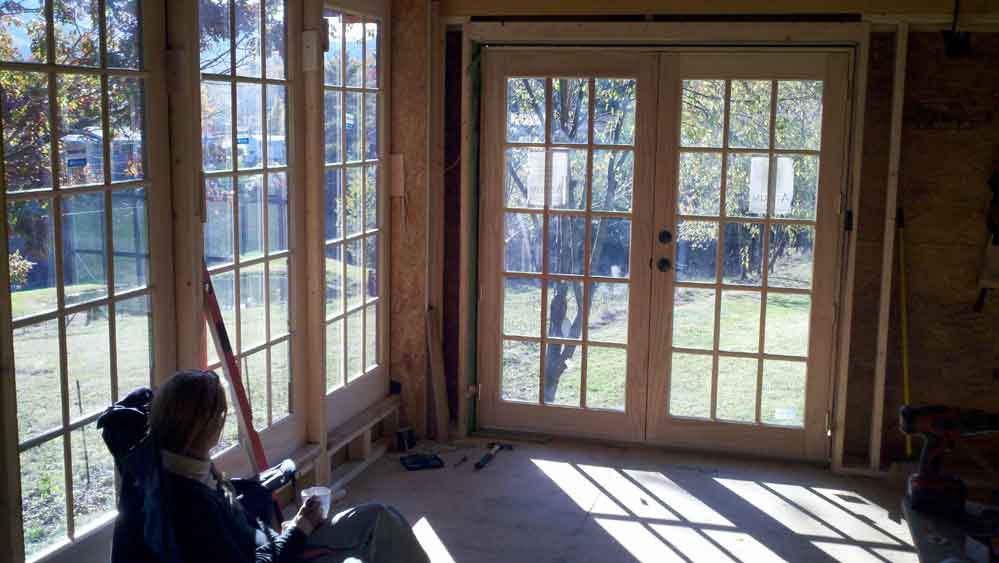
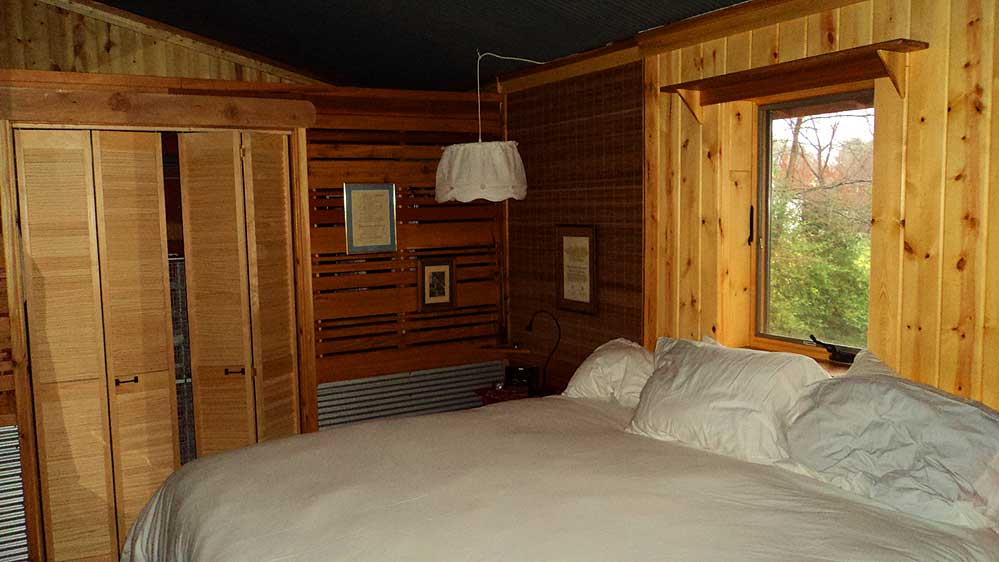
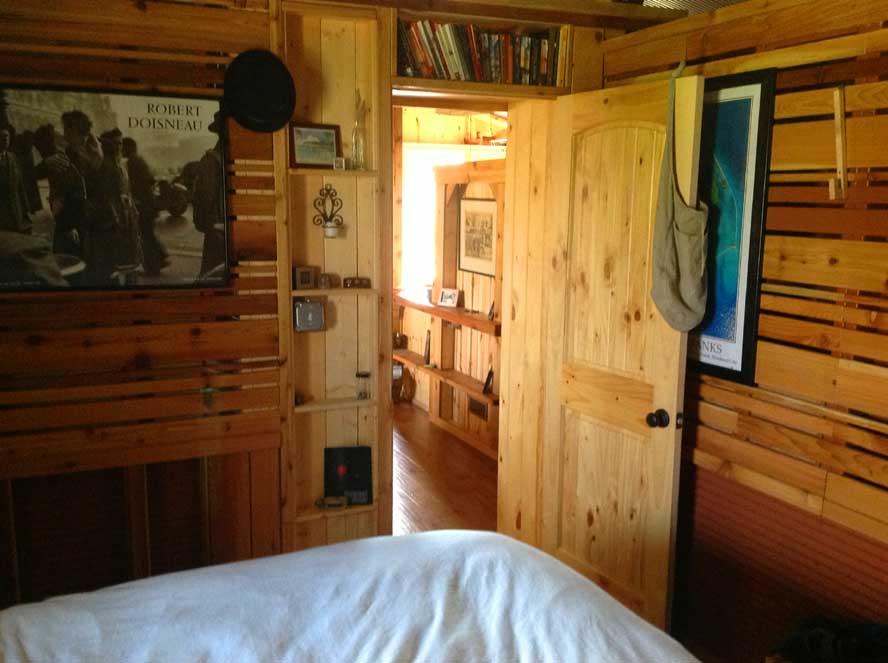
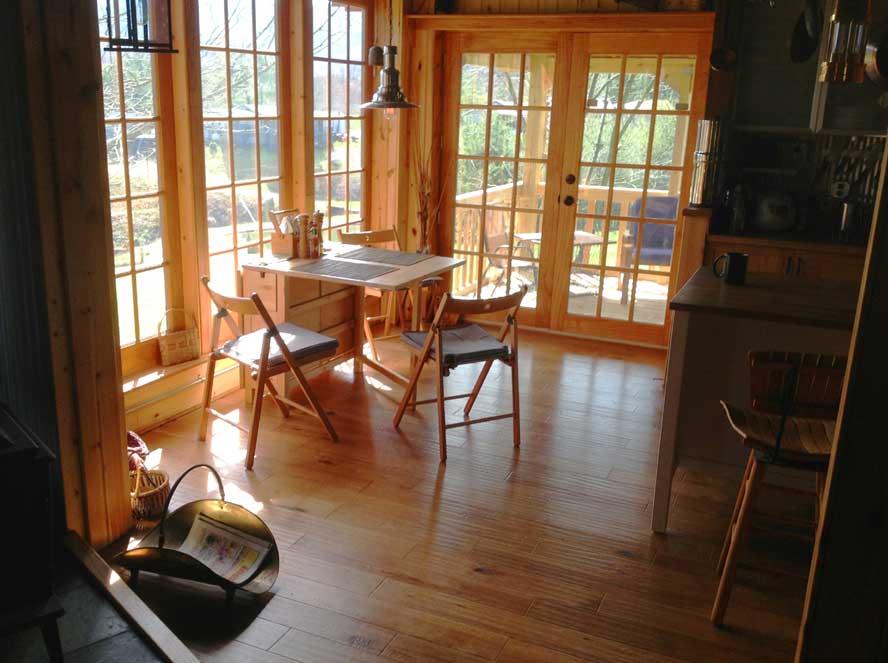
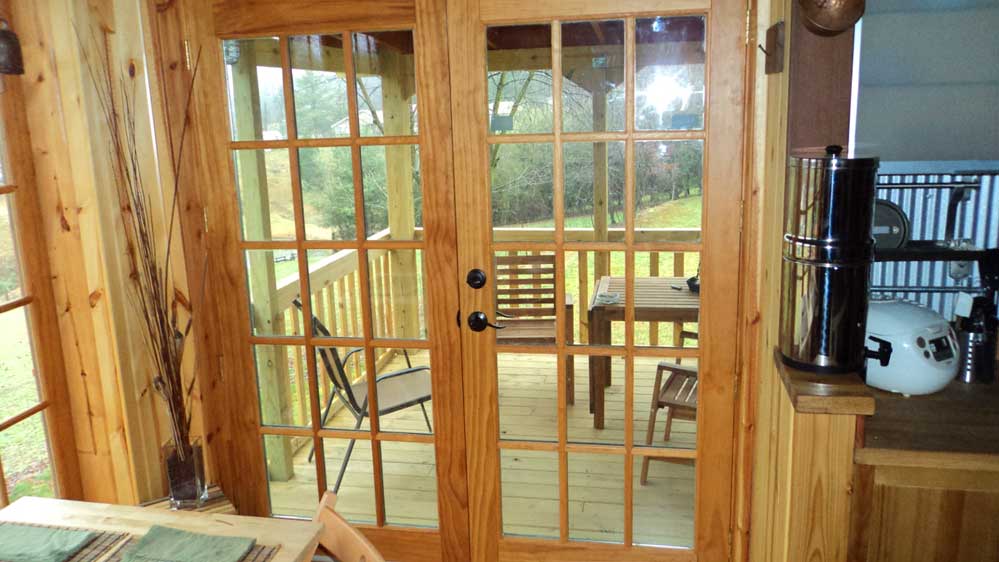
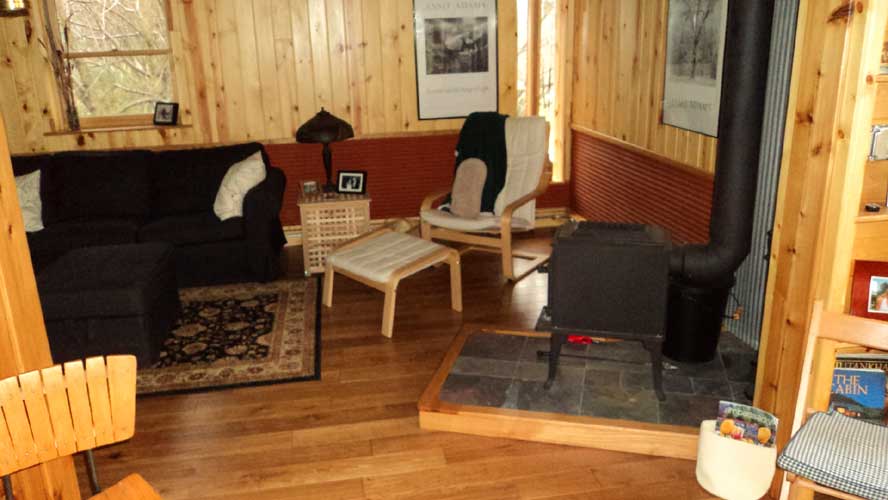
4. Open floor plan to make the space feel large.
Our bedroom and the bathroom only have 7' walls while
the house has a 12' cathedral ceiling. From most
places in the home you can see the full 24' width and
the 38' length of the one big room. This with the
high ceiling gives a feeling of a much larger space than
it really is.
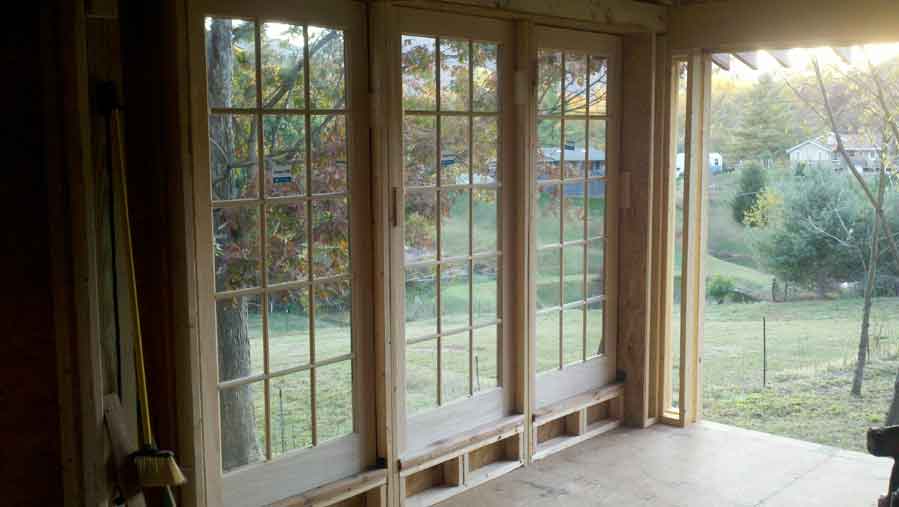
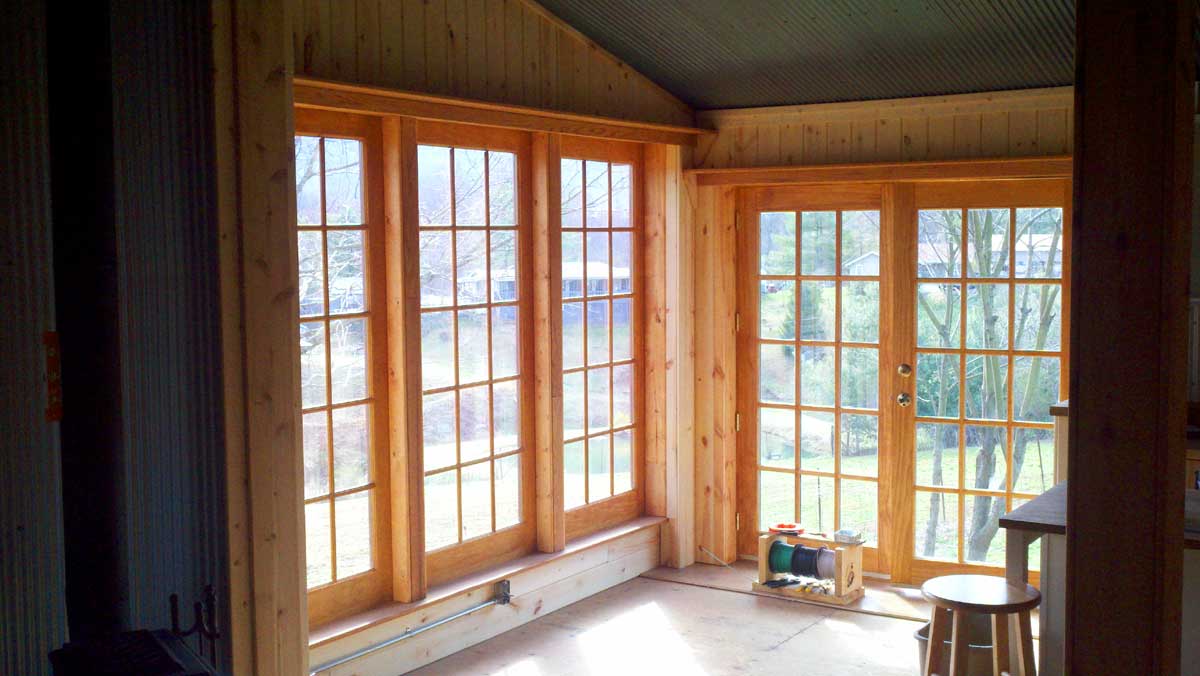
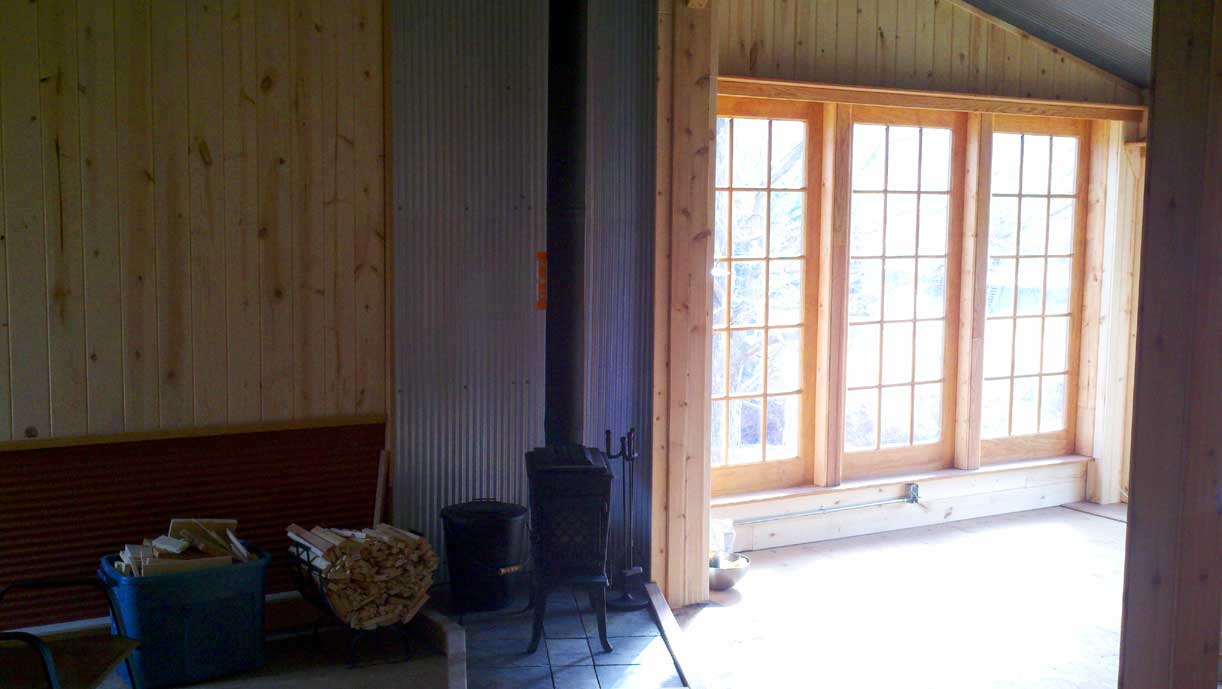
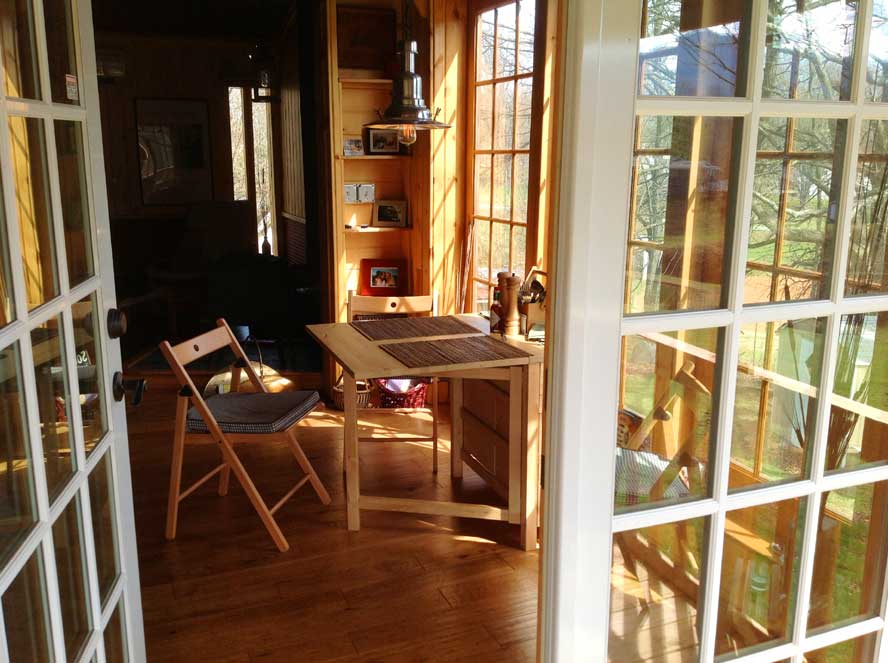
5. Keep my window area to less than 5% of the floor area
and concentrate the window area to the SW side of the
house where we spend most of our time and get the heat
gain in winter, summer this glazing is shaded by two
very large oak trees.
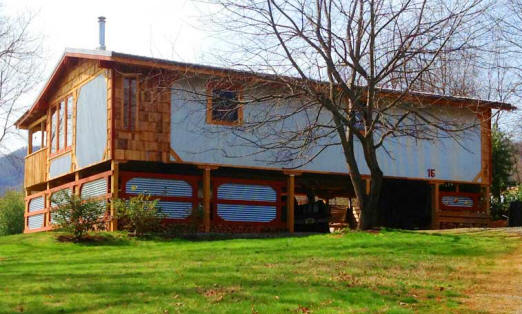
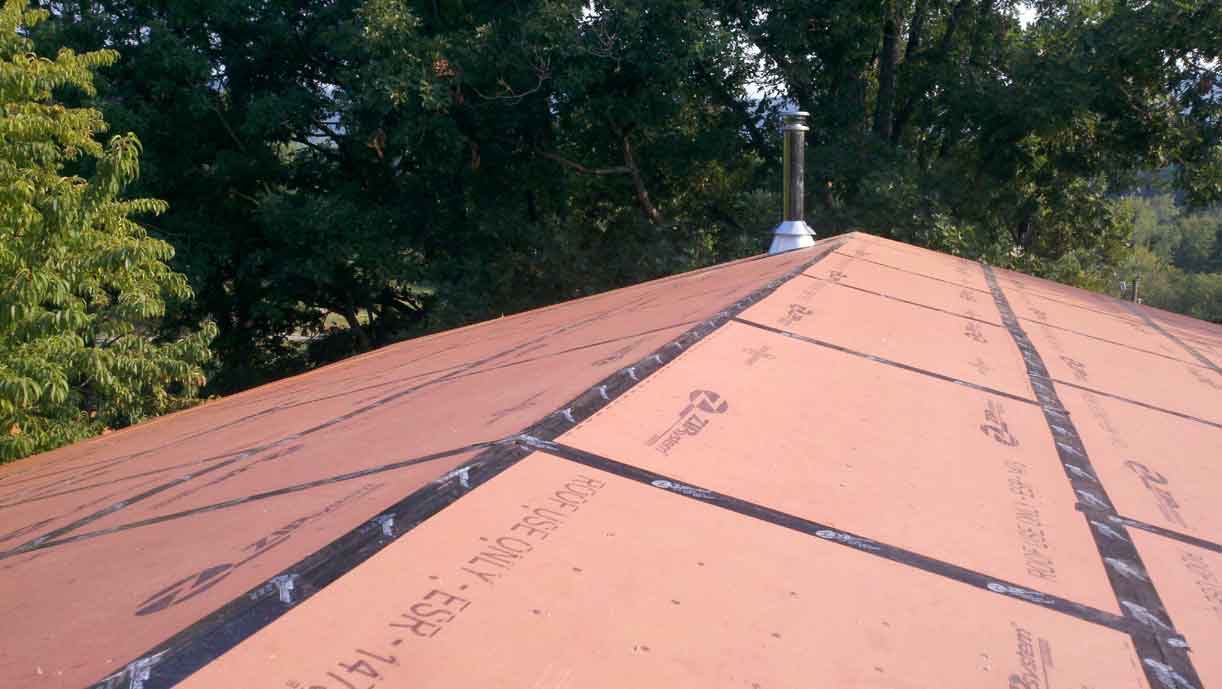
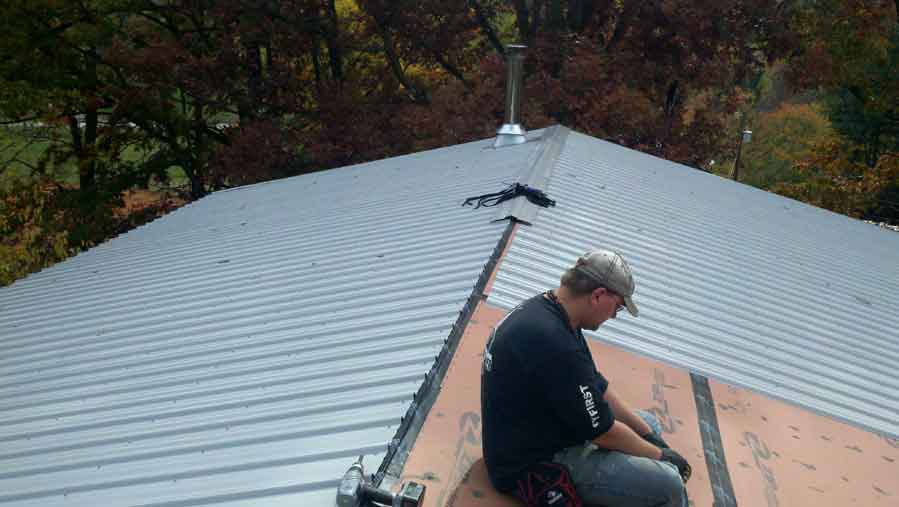
6. Large overhangs to protect doors and windows from the
elements and white reflective metal roof.
Reflective metal siding as well to down summer heat gain
plus be a durable low maintenance surface
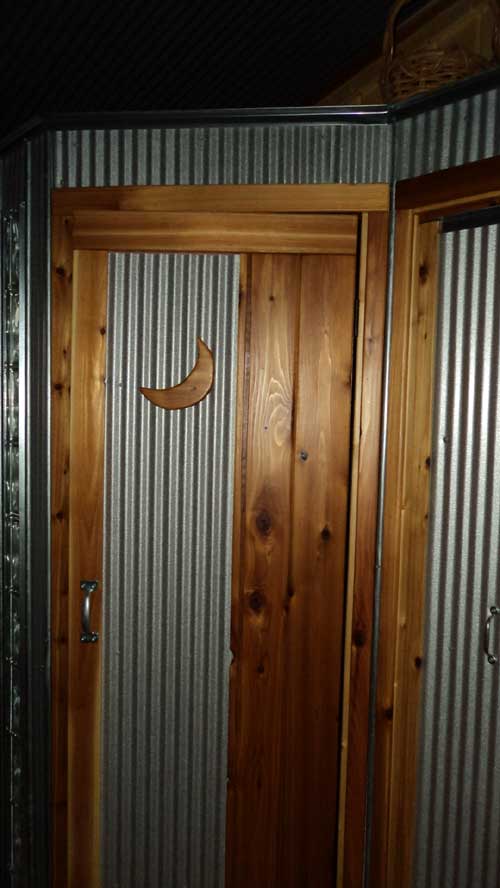
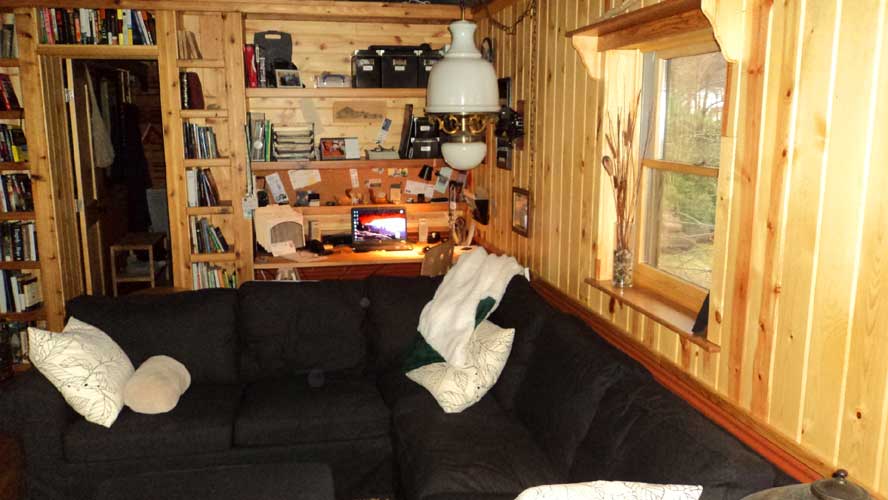
7. Function would trump form. Wanted each room to
function well for the designed purpose of that room
regardless of looks.
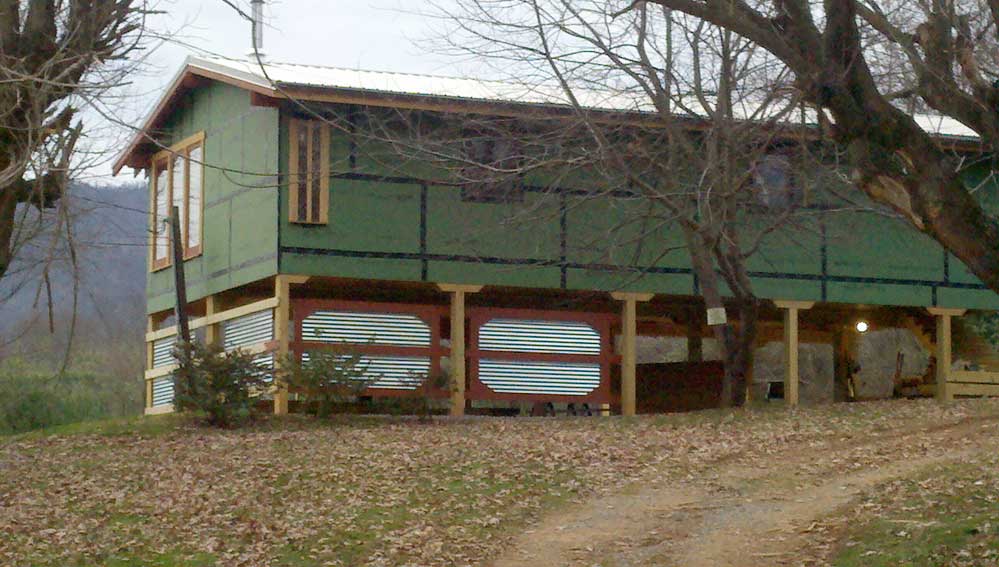
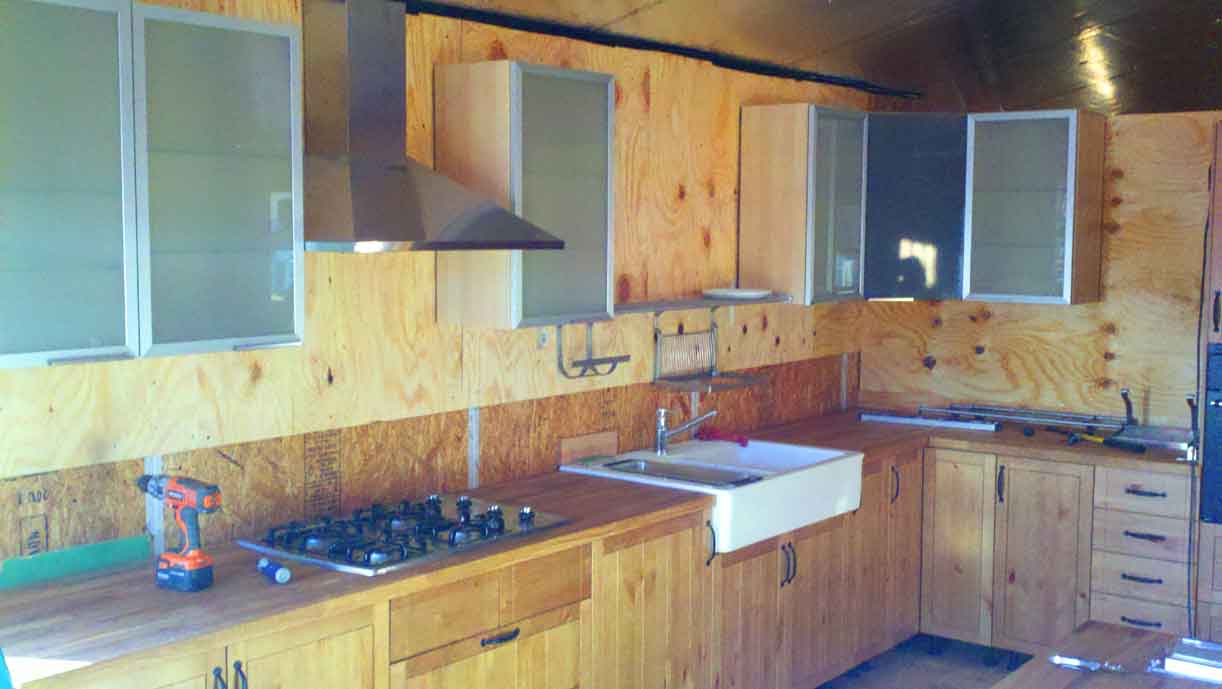
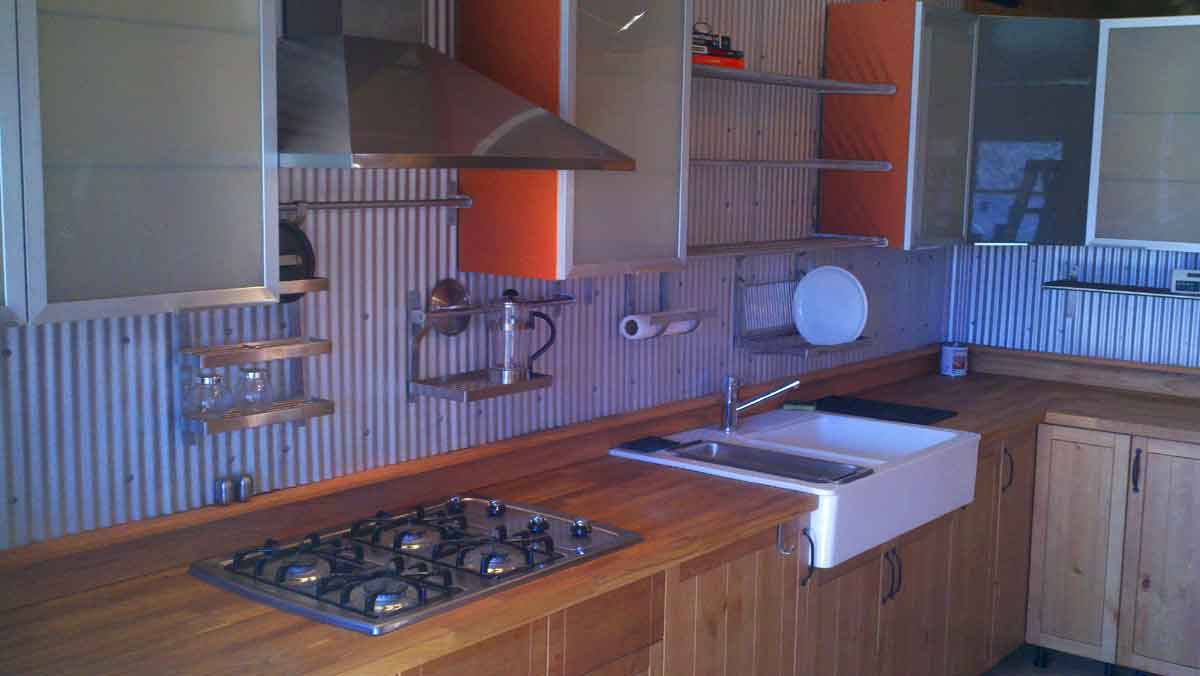
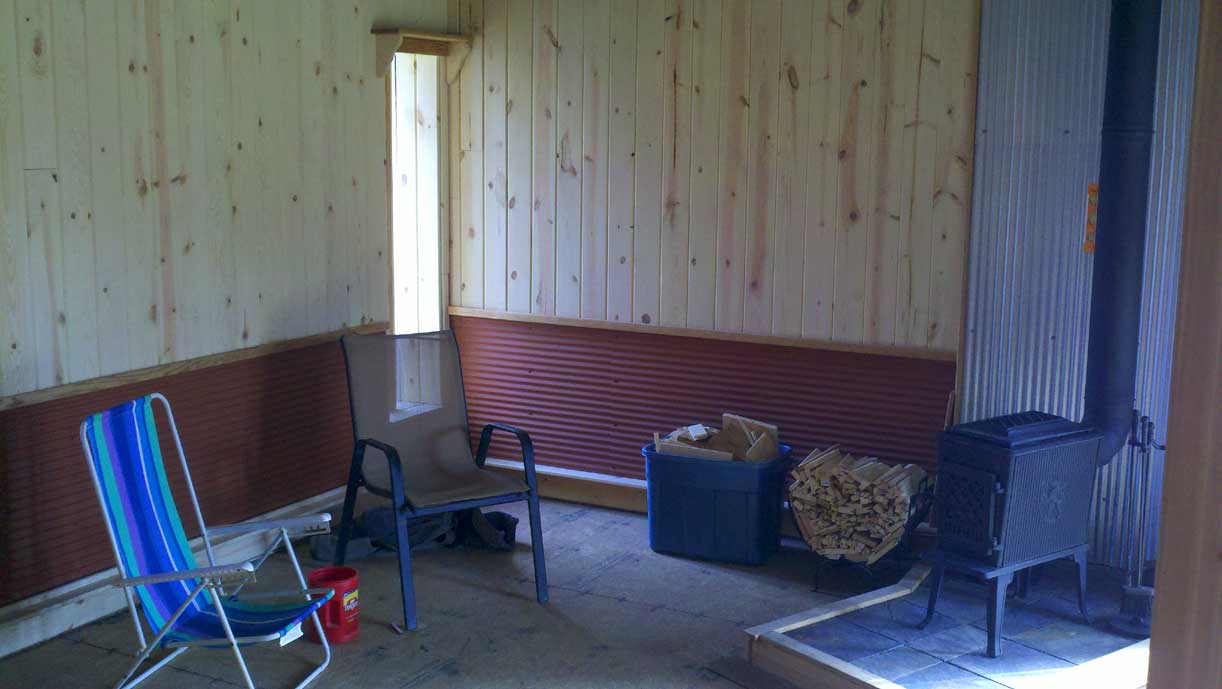
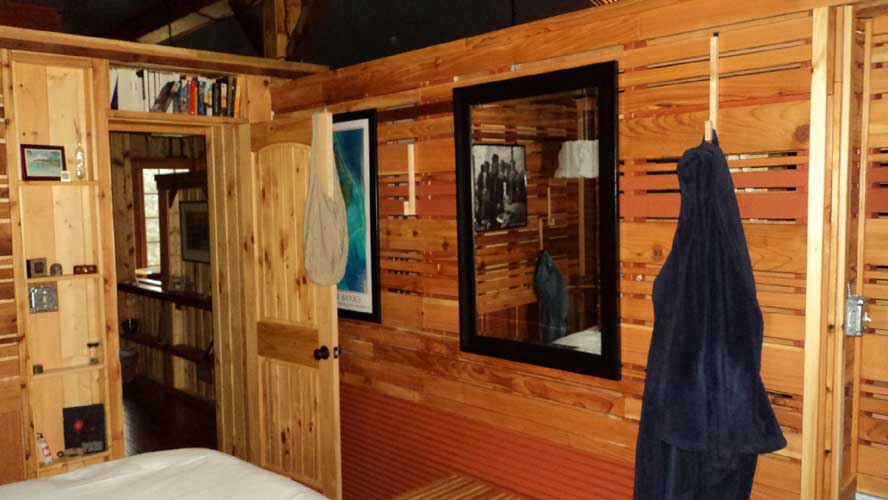
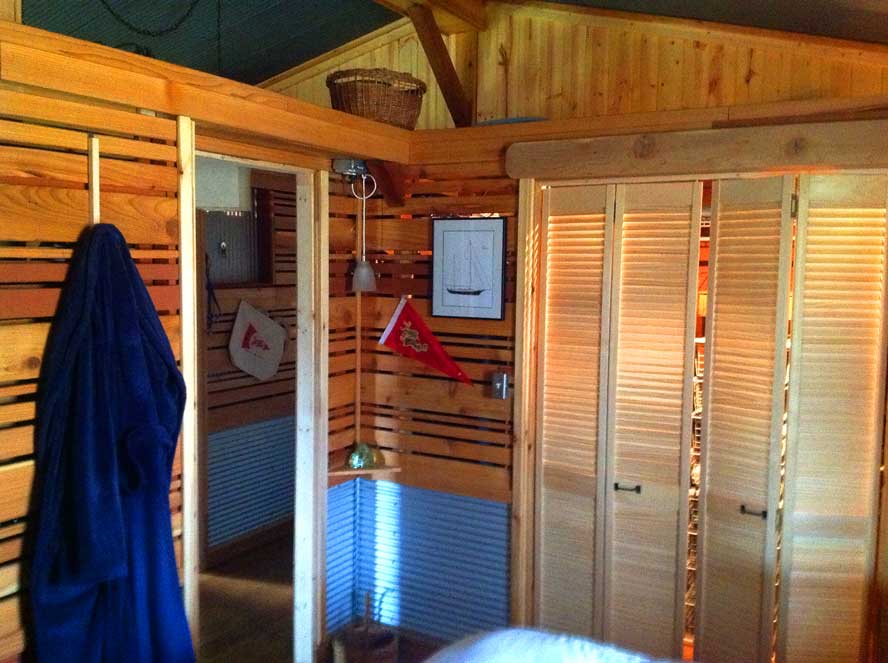
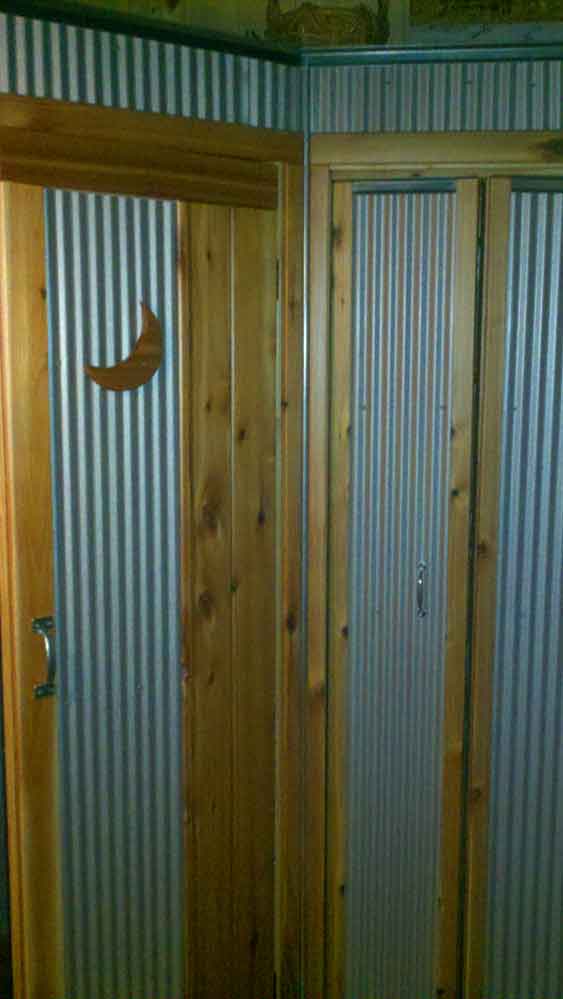
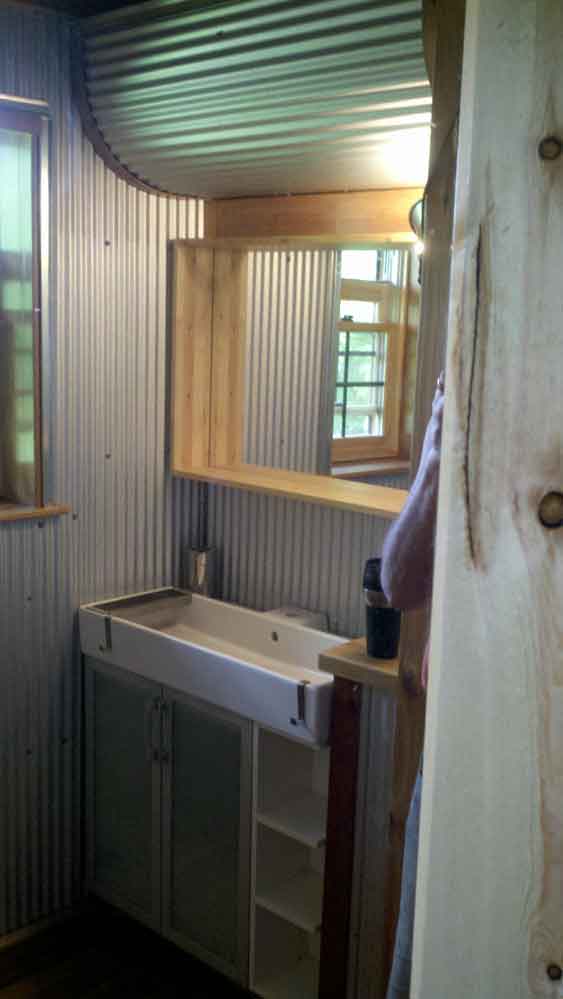
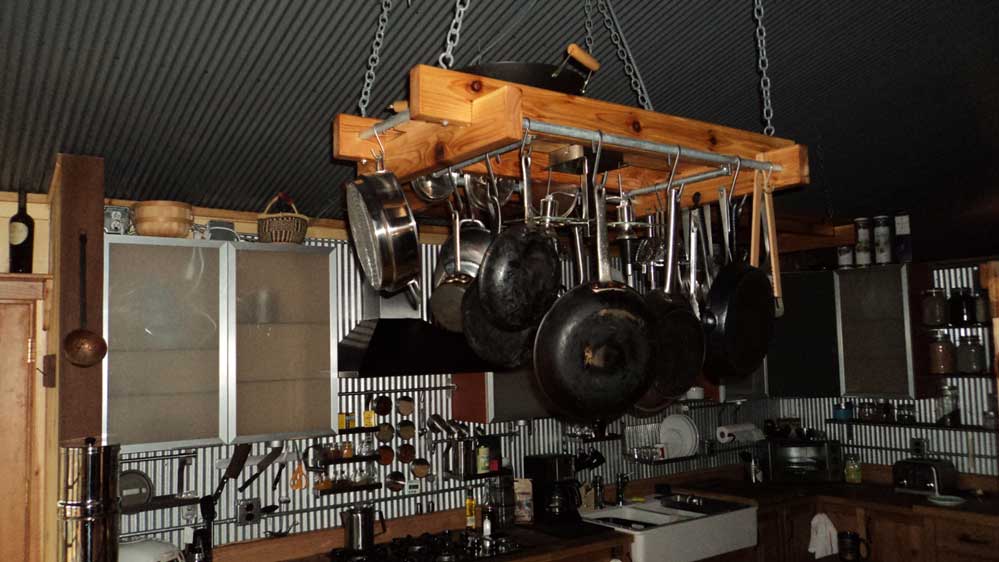
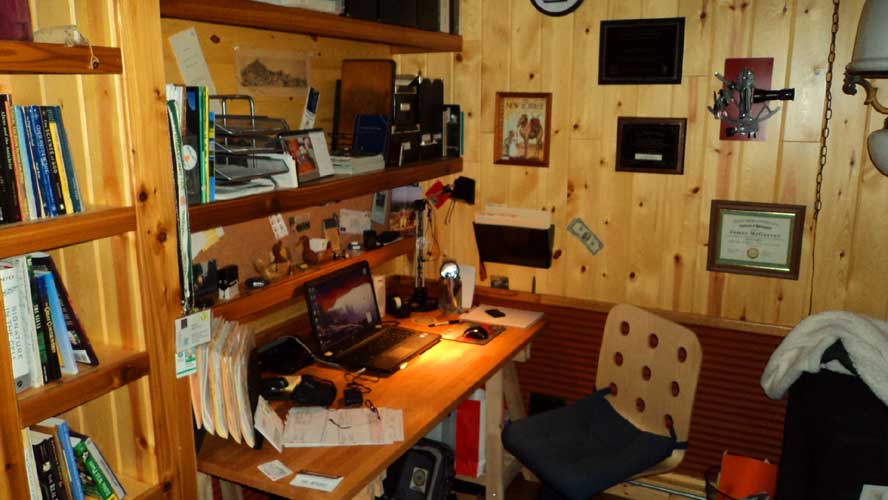
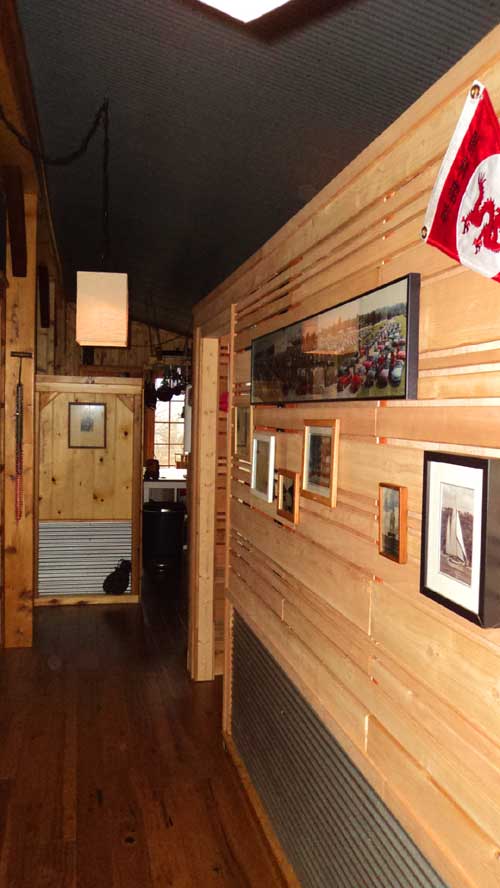
8. I do not like normal thus we used a lot of building
materials for purposes other than the intended use such
as galvalume corrugated metal for many of the walls and
ceilings, electrical conduit for molding and metal drip
edge for trim.
9. Low maintenance - Roof would be good quality metal
(light color to reflect summer heat) and walls would be
galvalume corrugated metal for low maintenance.
10. For air tightness and wall moisture issues all
electrical wiring and plumbing was surface mounted, thus
no wall penetrations
11. Keep width of home to 24' so I could use 16' rafters
and have good overhang to protect house walls and
windows
But the over riding design
tactic was "Keep it Simple"
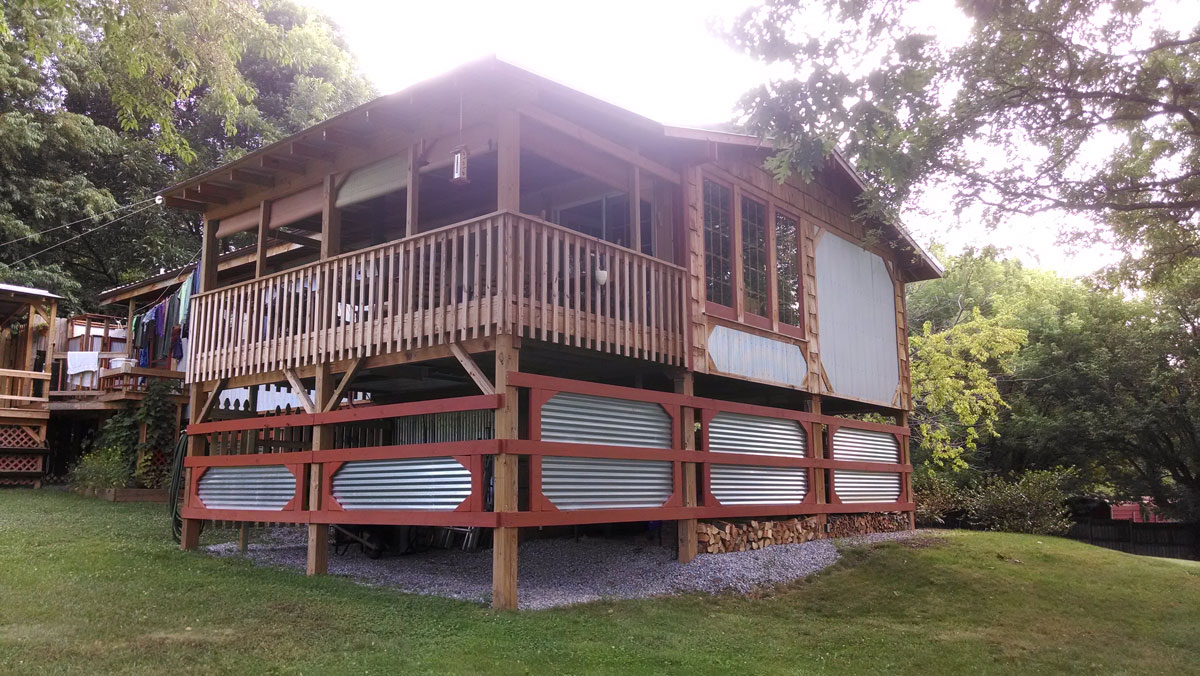
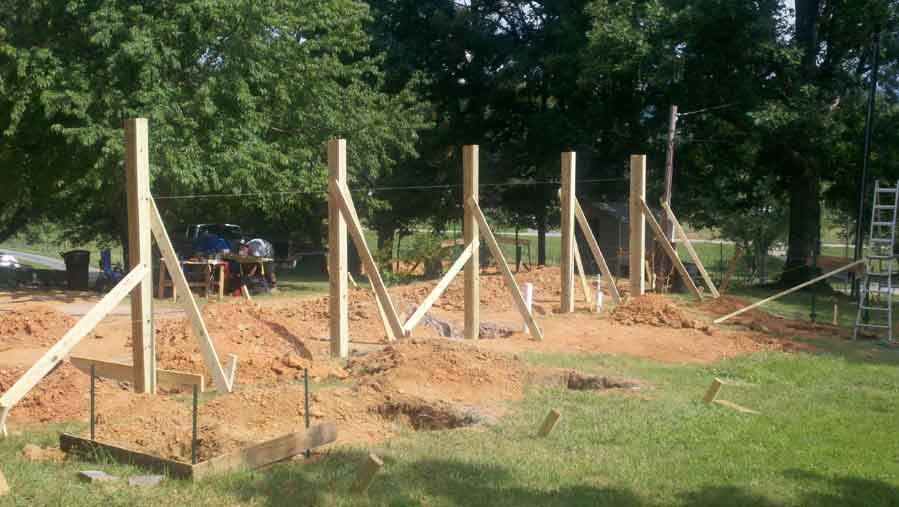
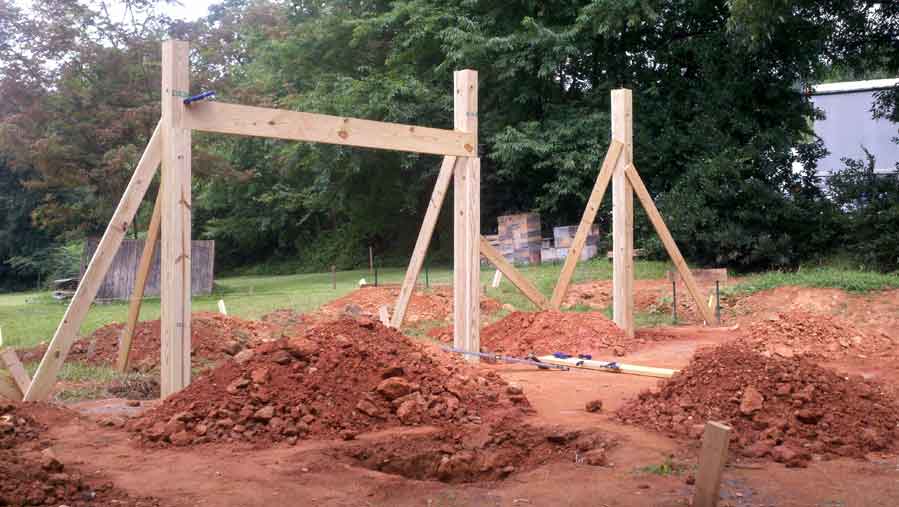
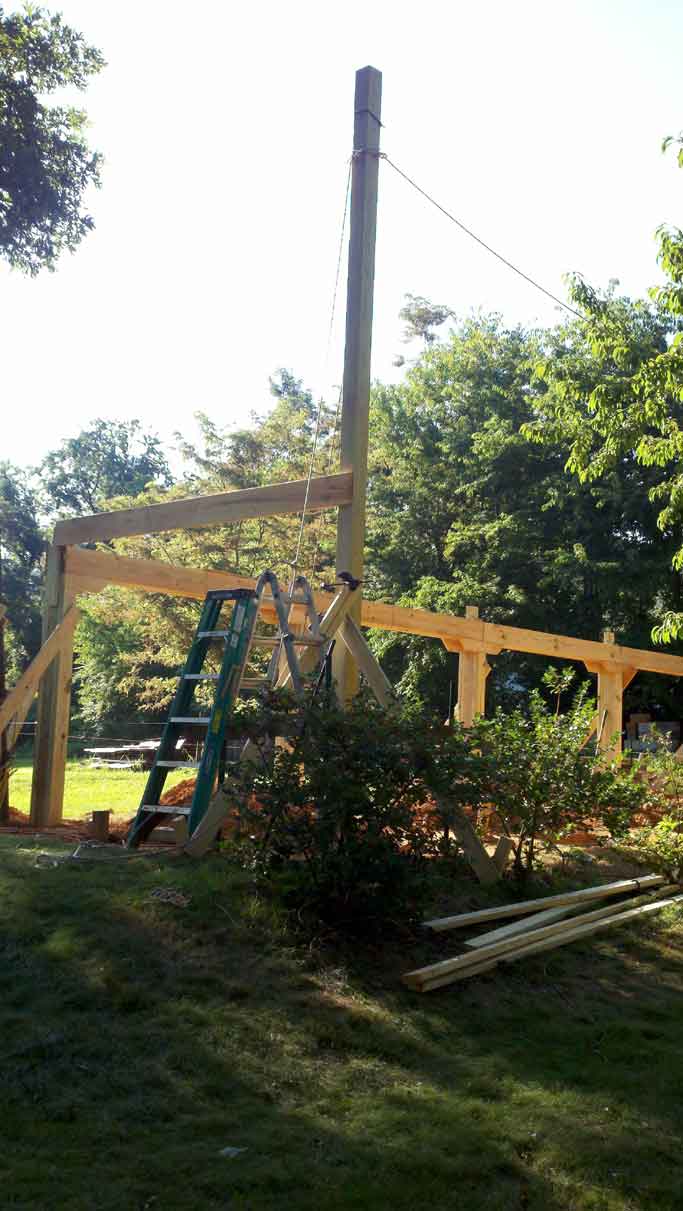
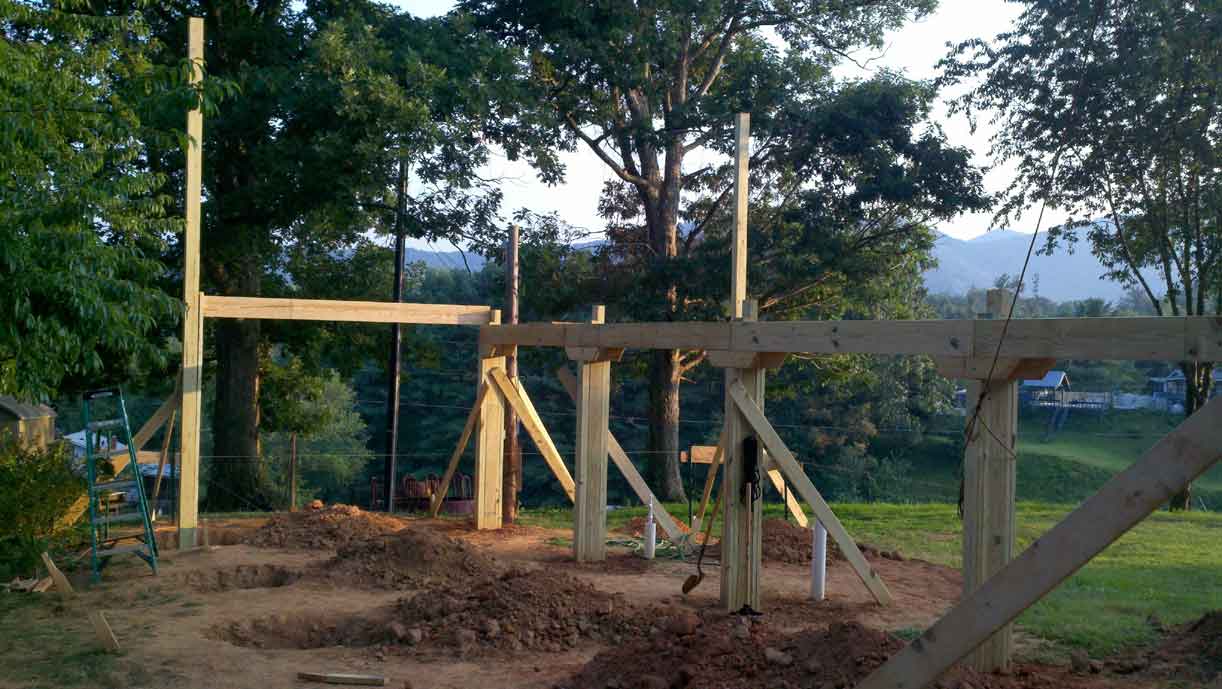
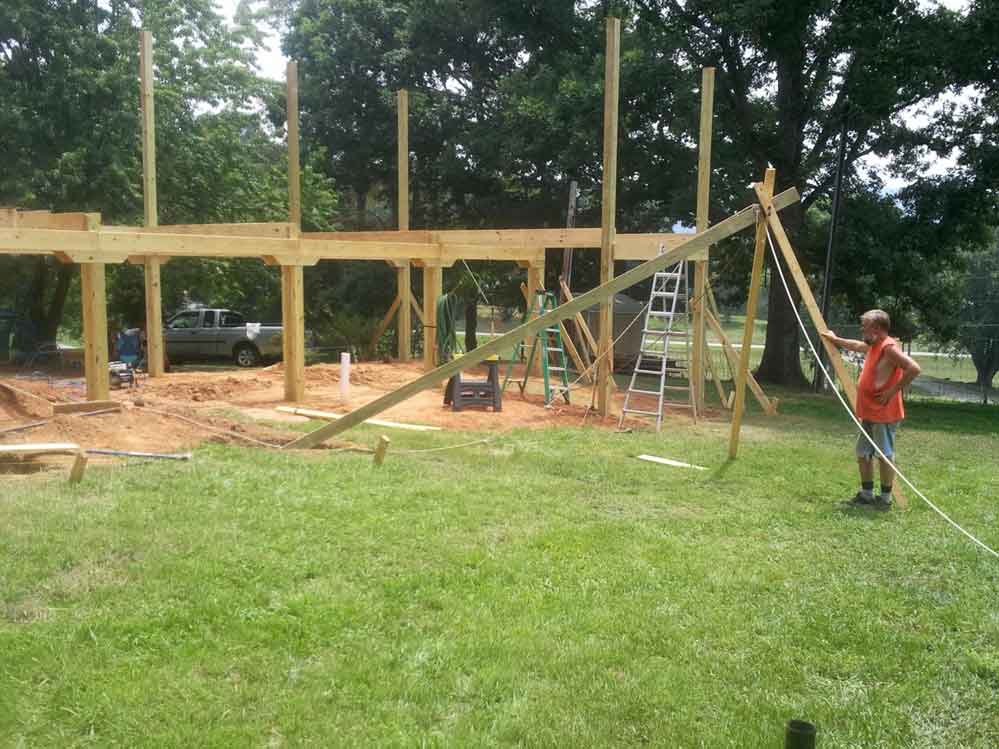
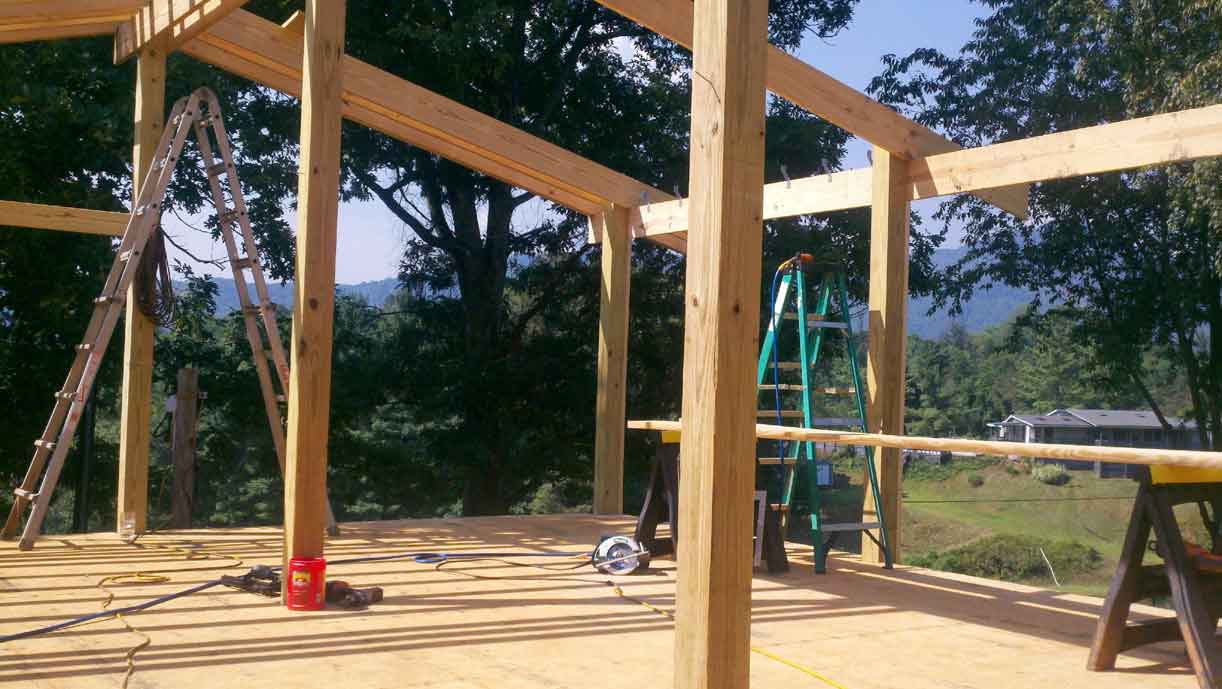
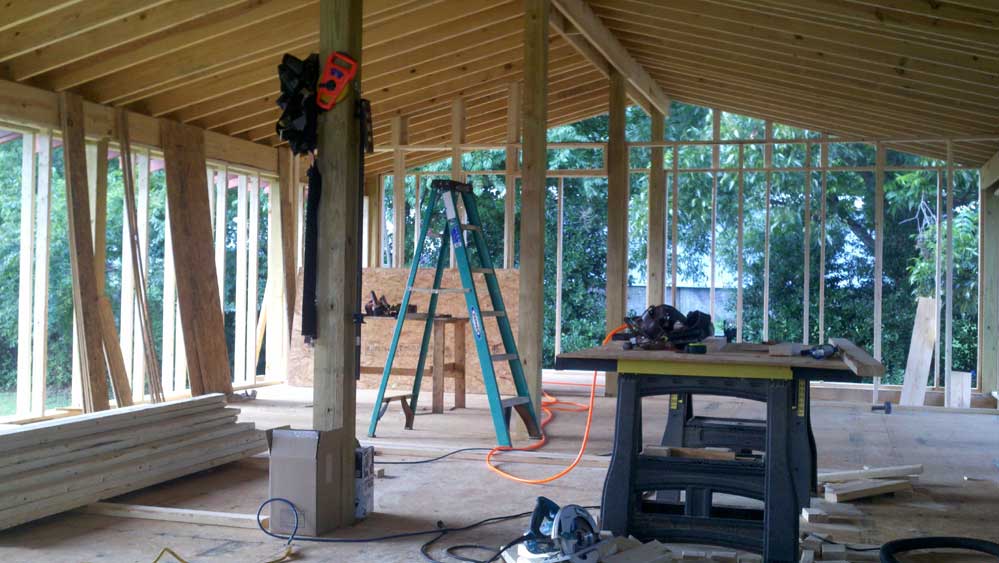
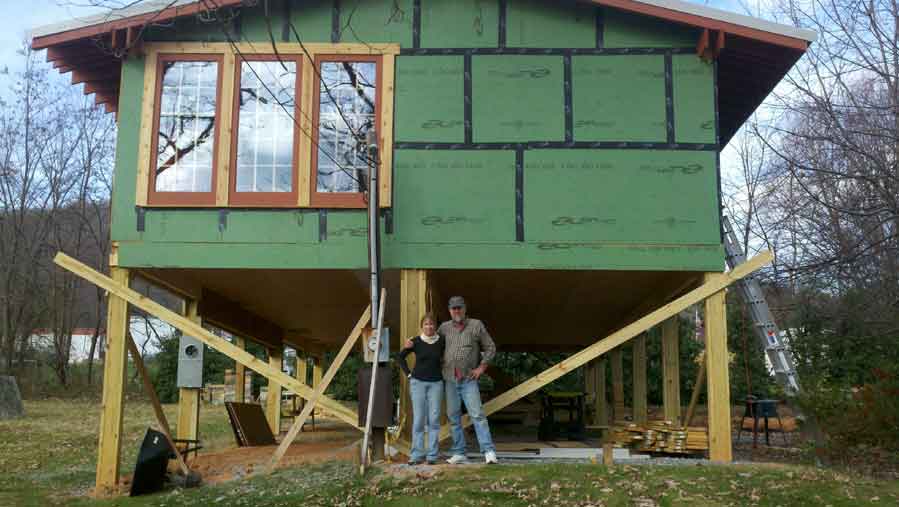
Overall
Construction Technique
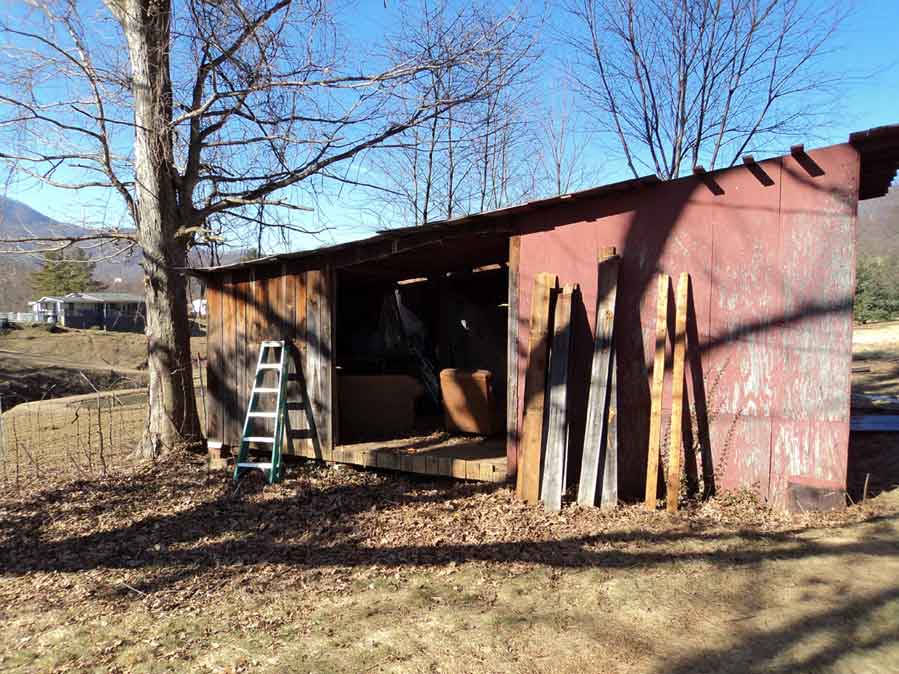
As with the first house I built 40
years ago I went with "Pole Construction".
There are several reasons for using pole construction.
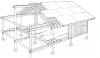
Click for view
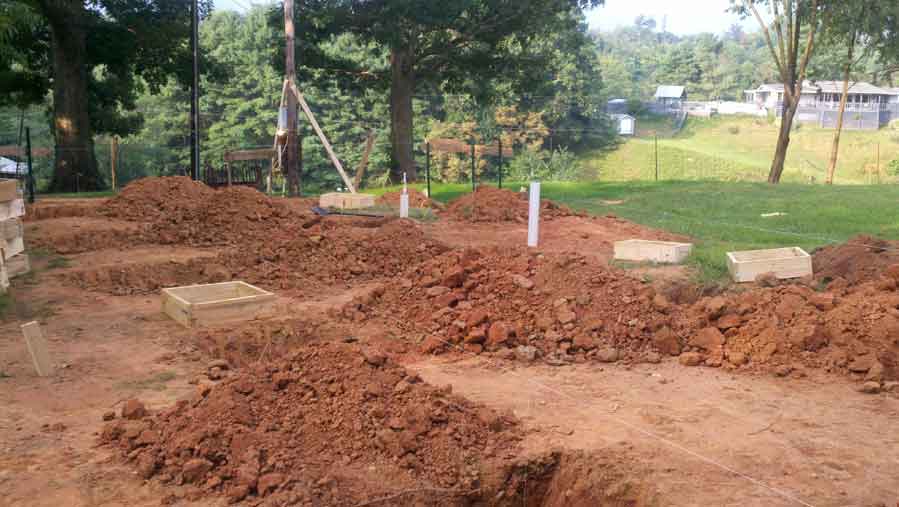
- 1. Pole construction allows
for a cheap foundation. We spent $500 for a couple
of hours of backhoe digging then built frames to pour a
2'x2' concrete pads under each pole. Cost with concrete was under
$700 which put our foundation a fraction of the cost of
normal construction
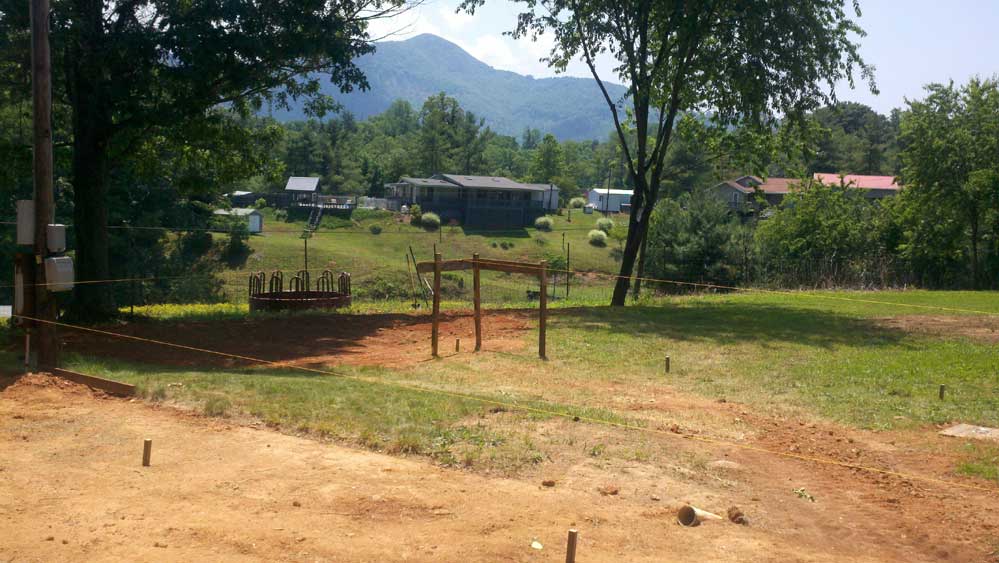
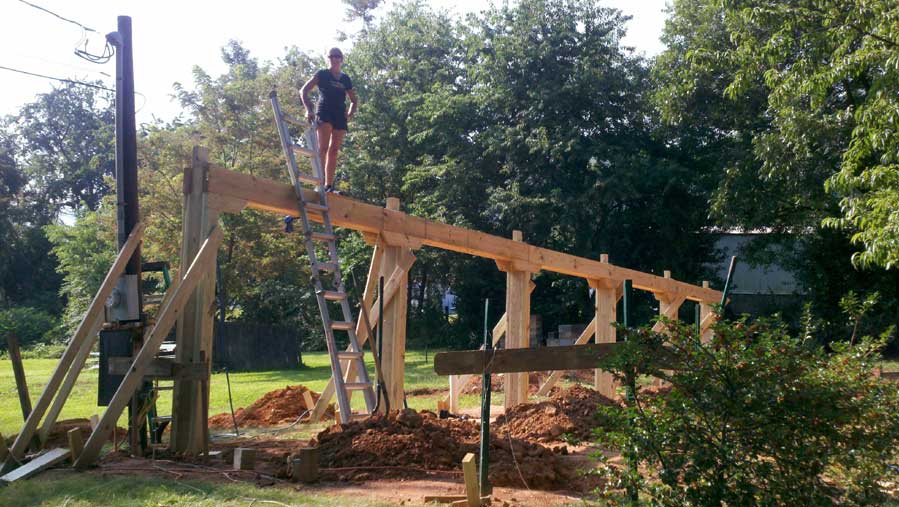
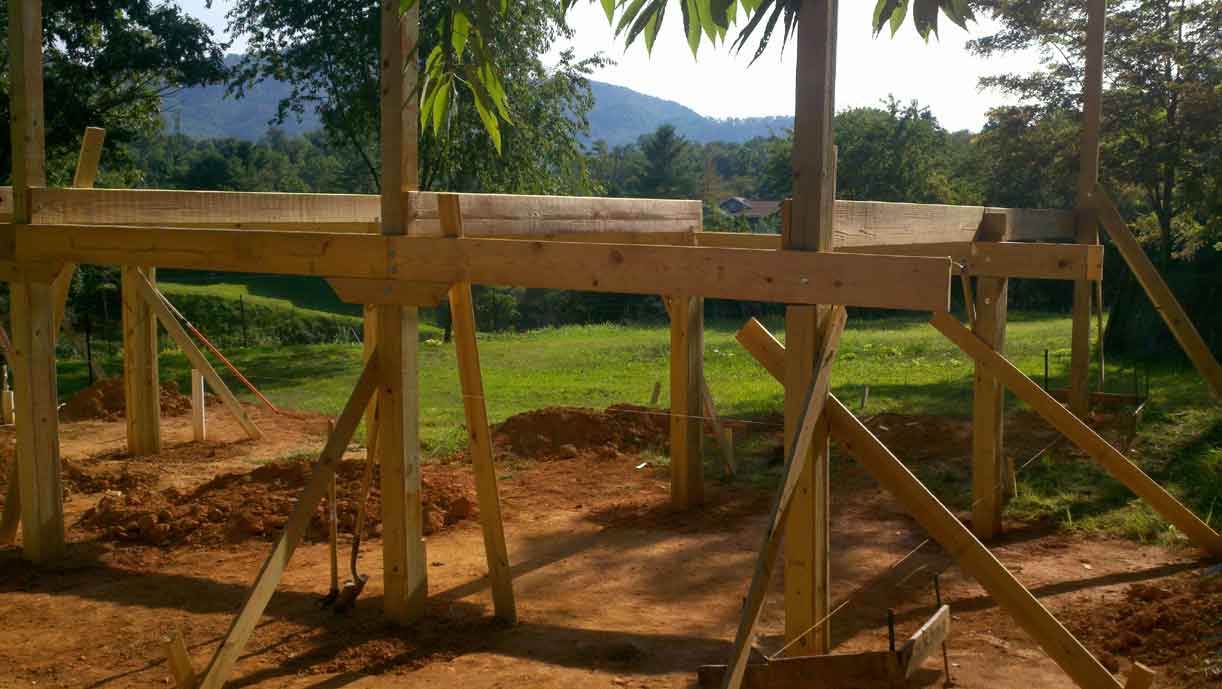
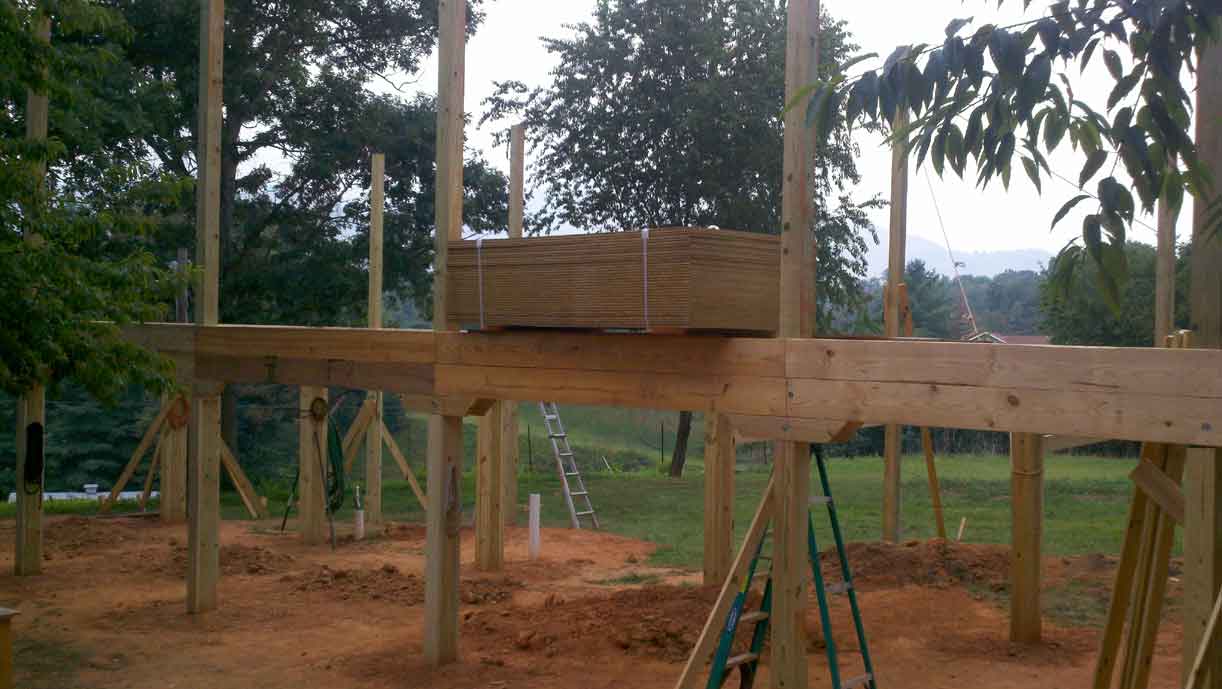
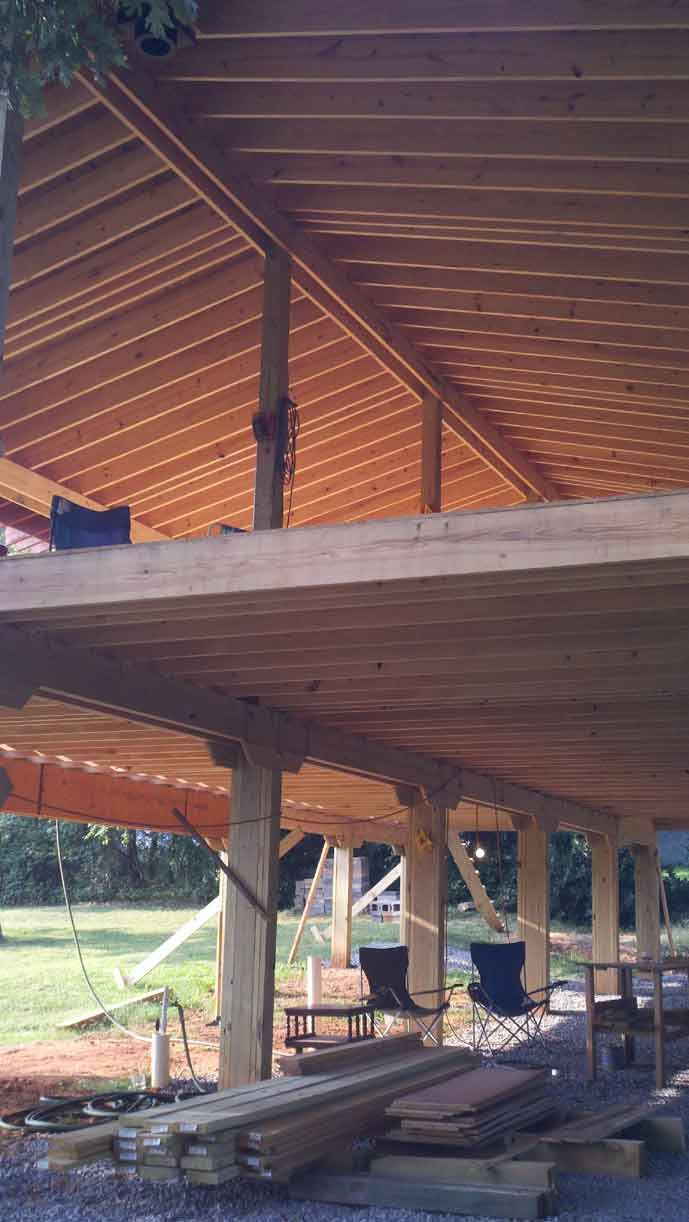
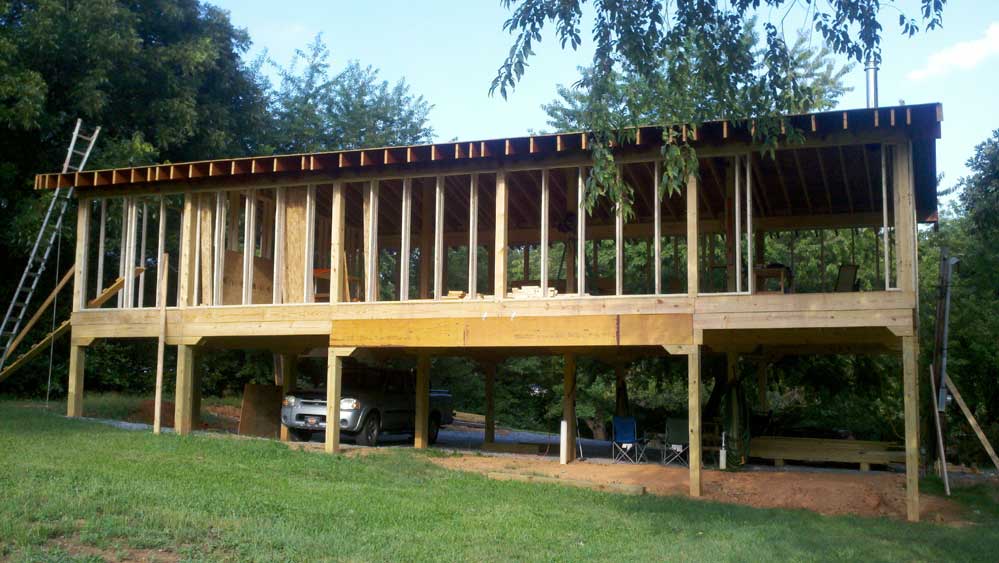
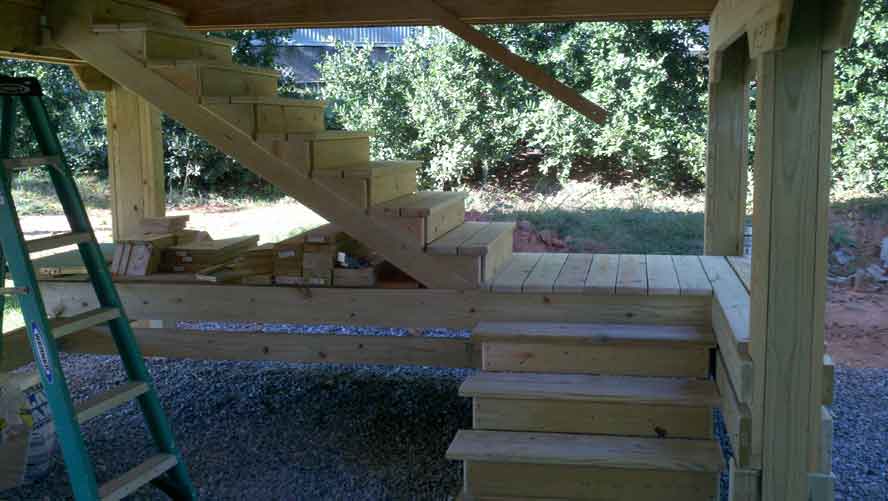
2. With pole construction we were able to use longer
6x6" poles and raise the house 7' off the ground.
This served two purposes - gave us 900 Sq Ft of free
space to park our vehicles, store our firewood etc plus
we are not taxed by the county on this space. The
second reason was to get our house up and away from the
ground for moisture reasons. Very dry house and no
damp crawl space to deal with In all my years of
home inspections I have never seen a basement or crawl
space I would want under my house.
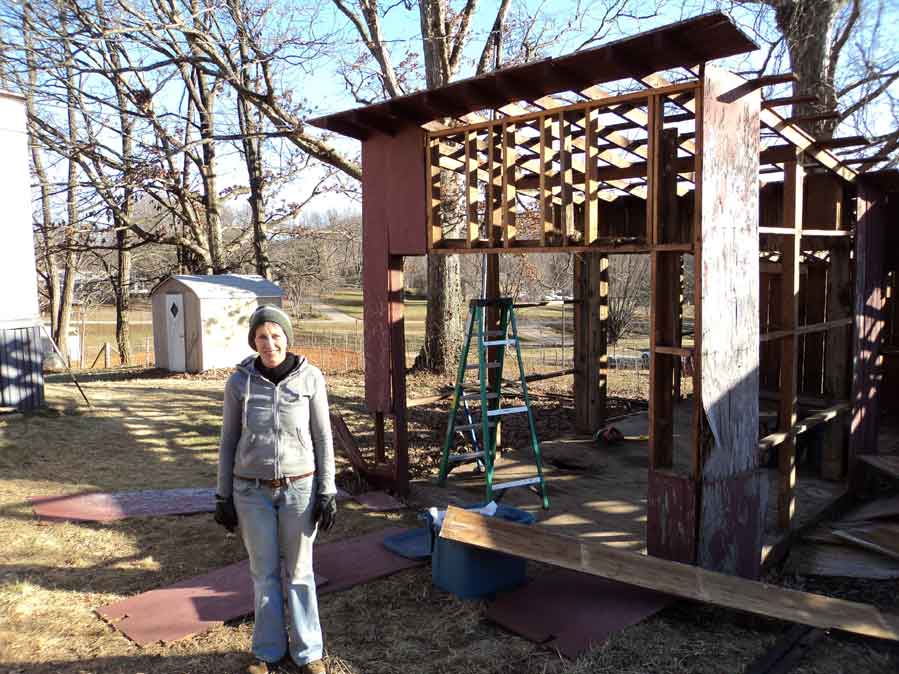
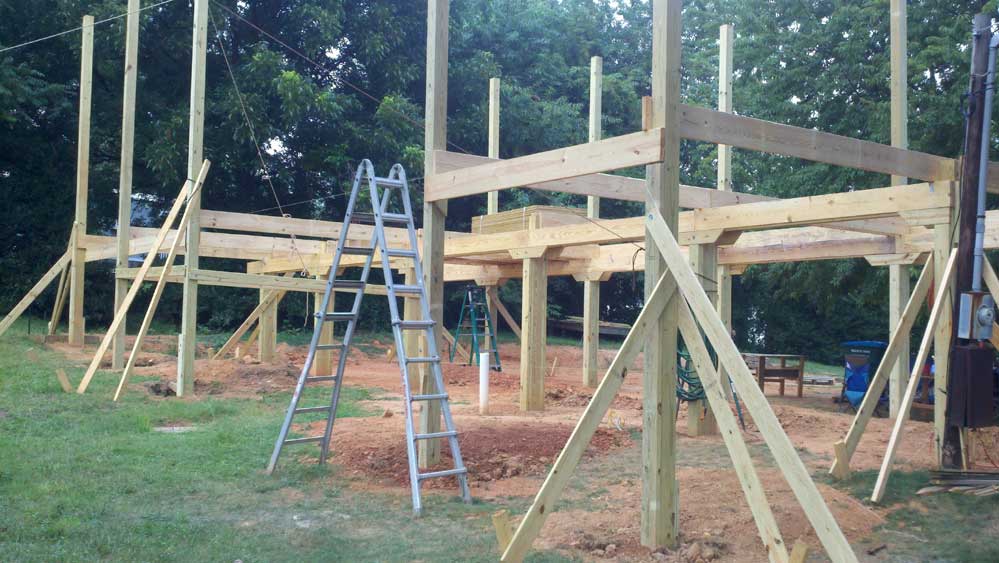
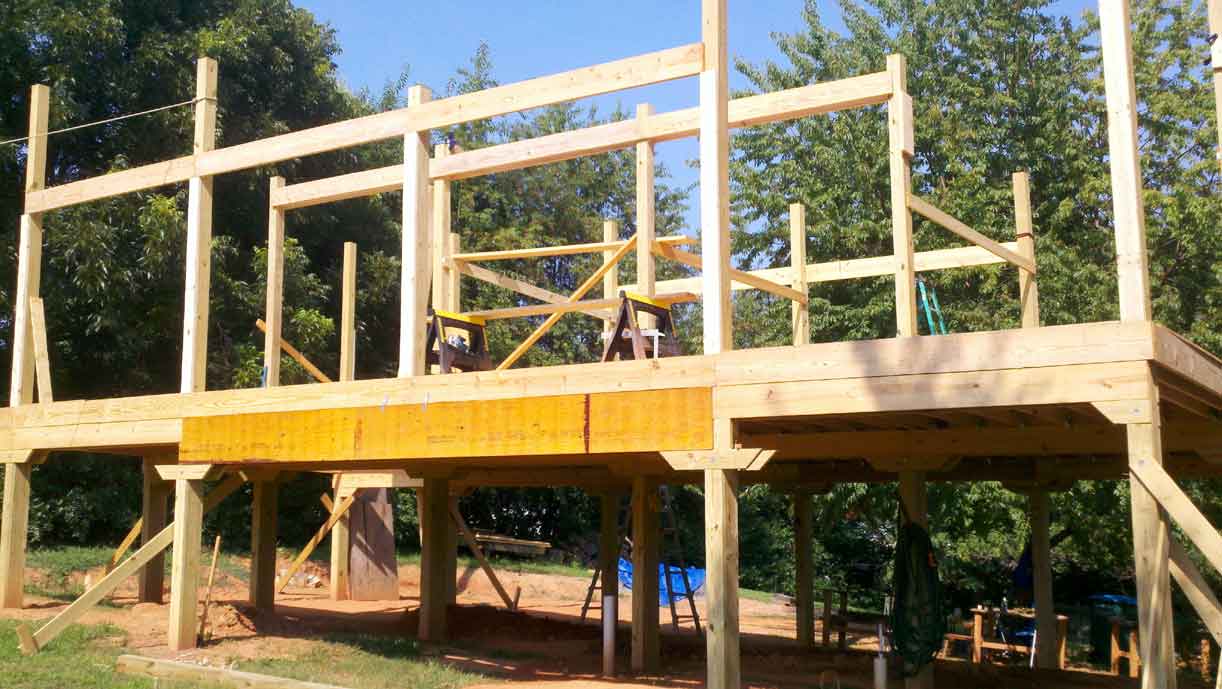
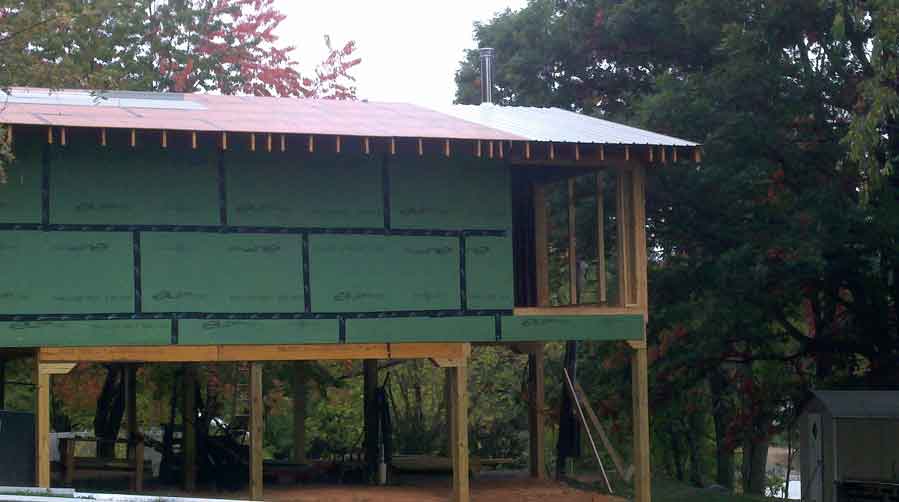
3. With pole construction the wall are not load
bearing. This means less lumber in the walls (no
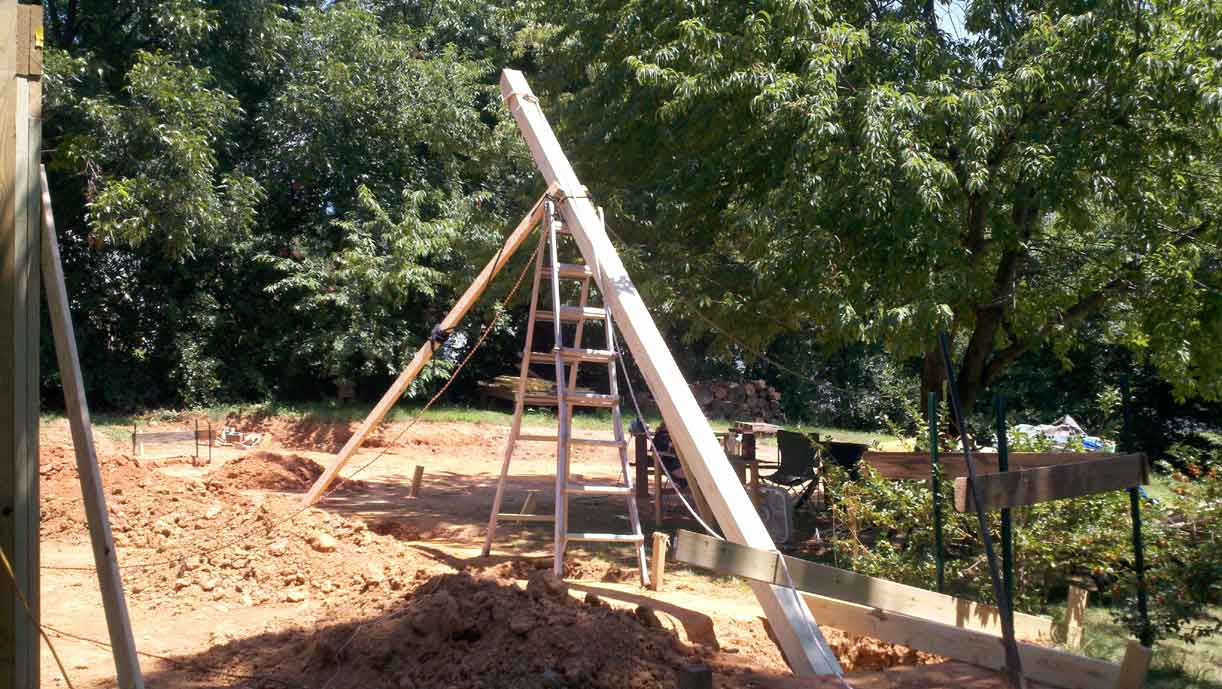
headers over doors and windows) and
allowed us to put the roof on first and build out the
balance of the house without our wall and floor material
getting wet. From an energy standpoint there are
no headers over doors and windows thus no thermal
breaks.
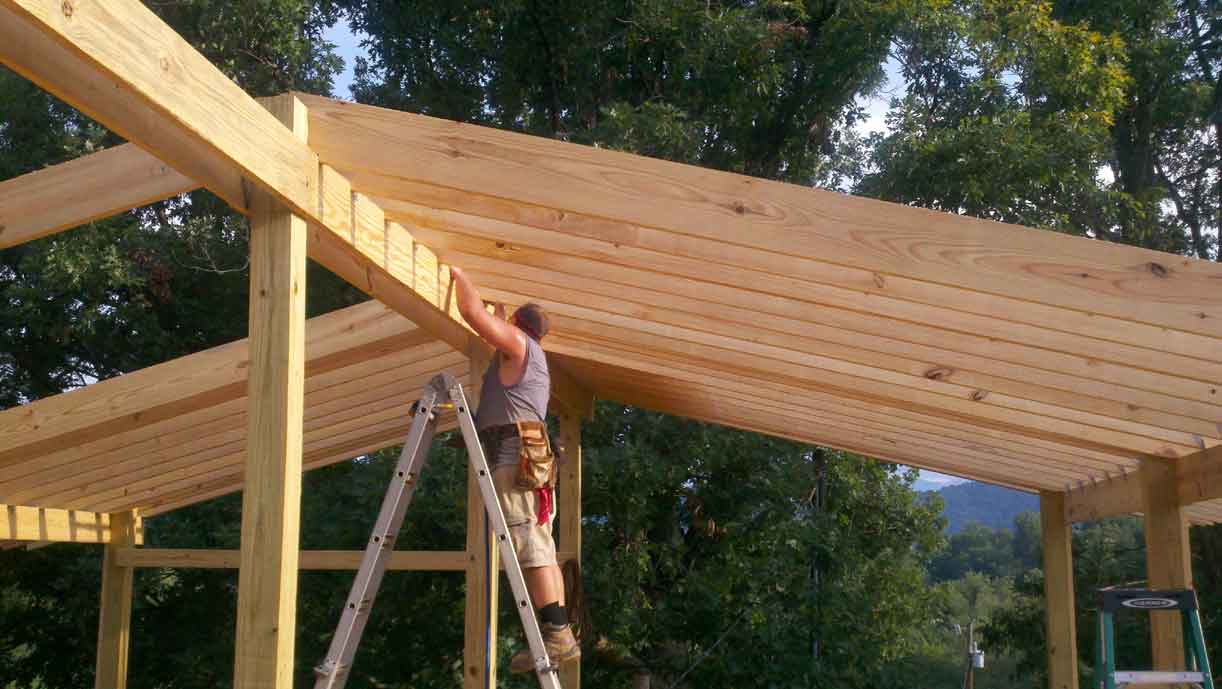
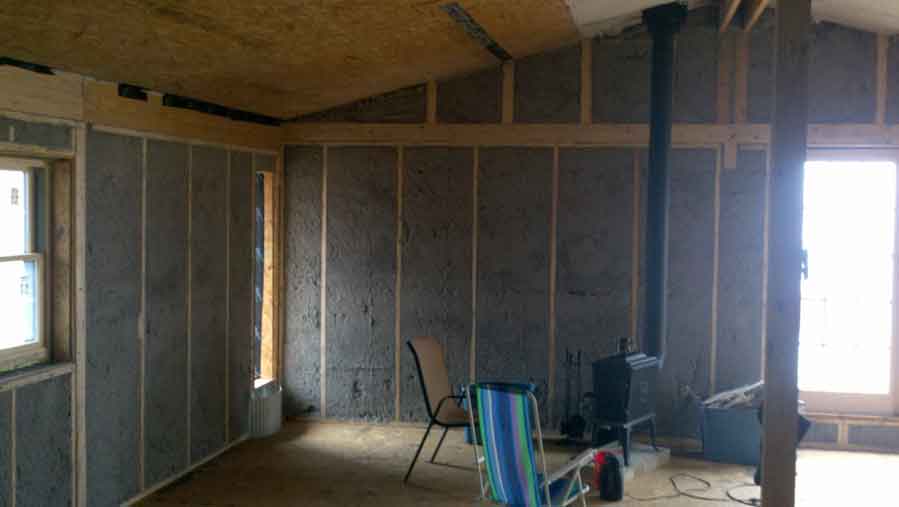
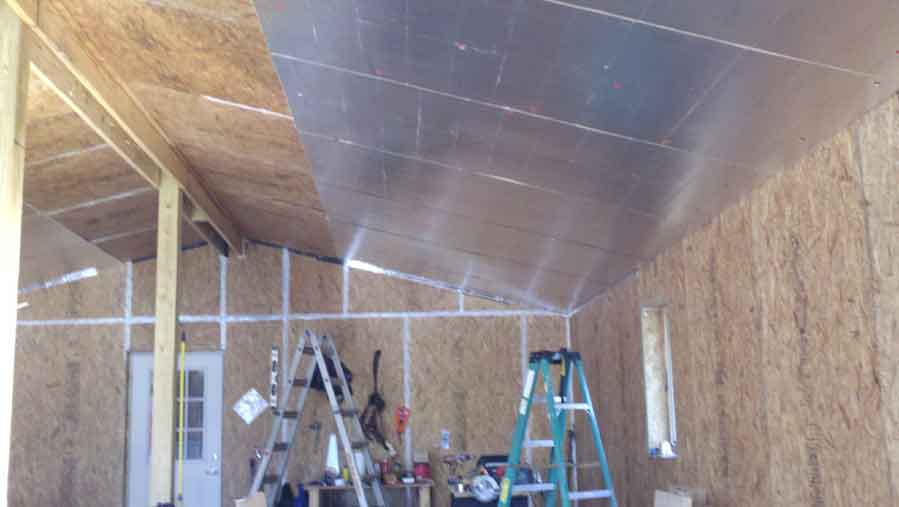
Shell
We have 40 plus R-values ( 0.025
U-Value) in walls, ceiling, and floor, considerably under
Energy Star for our climate of 4100 degree days.
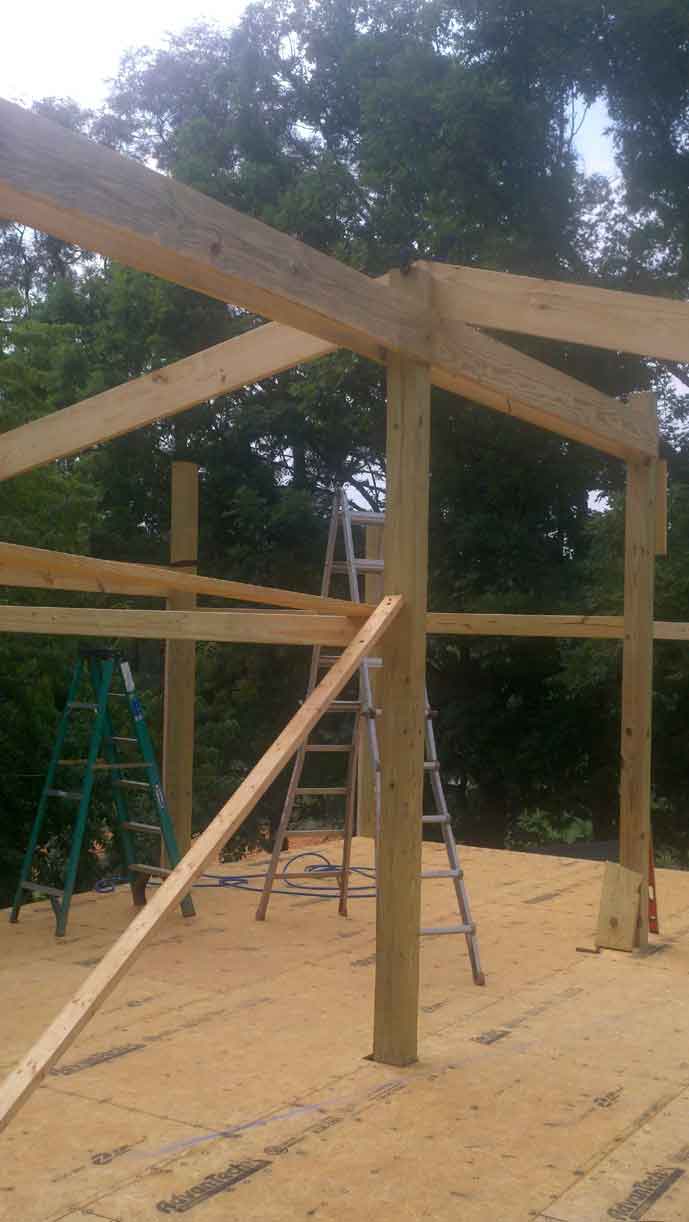
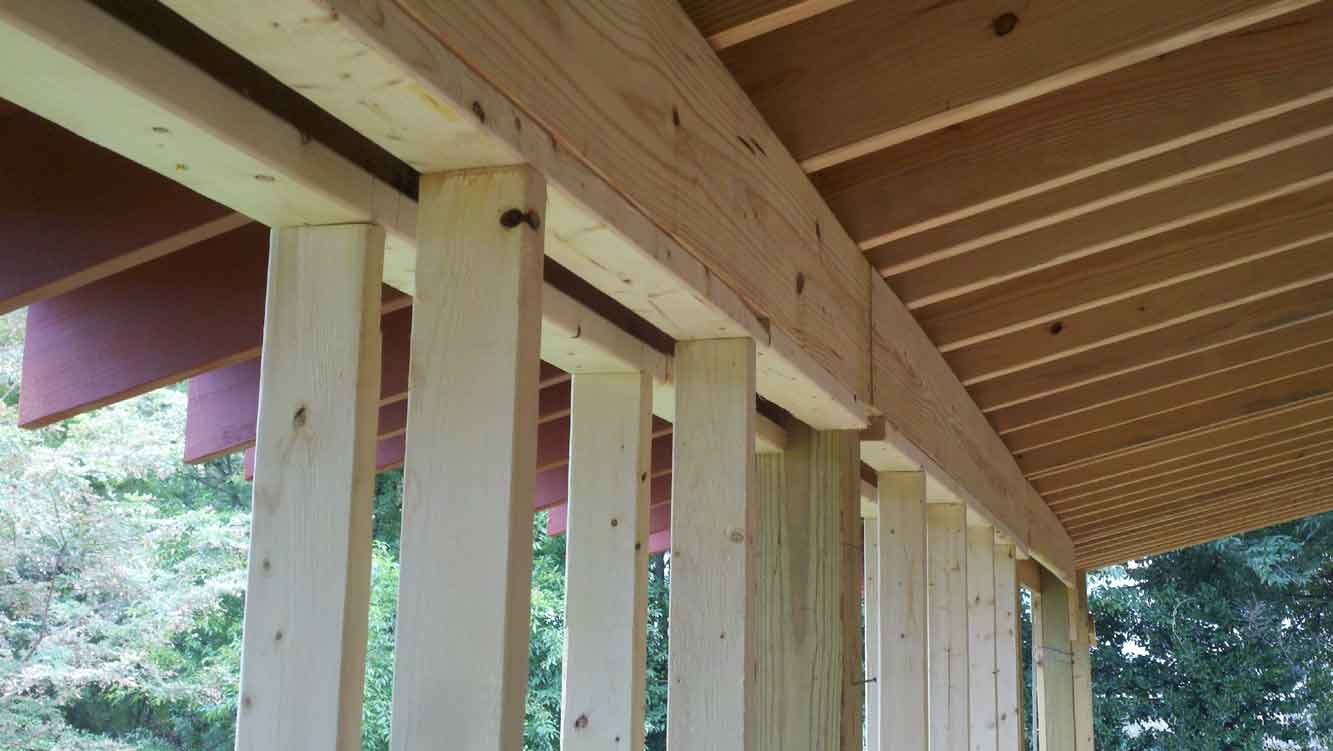
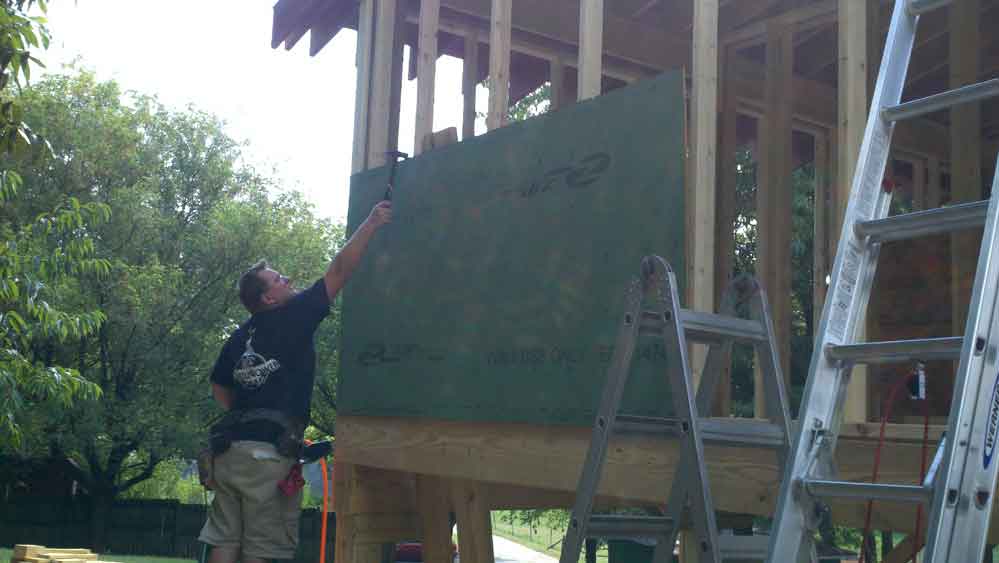
Walls
are double wall construction (two 2x4 walls) to
minimize thermal breaks. The walls have two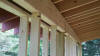 skins similar to a SIP system The exterior covering is
the ZIP system, with all seams taped and caulked. The
ZIP systems is our moisture plane but breathable. The
interior skin is OSB board with seams taped and caulked.
No vapor barrier as I wanted the wall system to be able to
dry both directions depending on whether I was heating or
cooling the house. Because none of the walls are load
bearing the only thermal breaks (no headers etc) are the 8
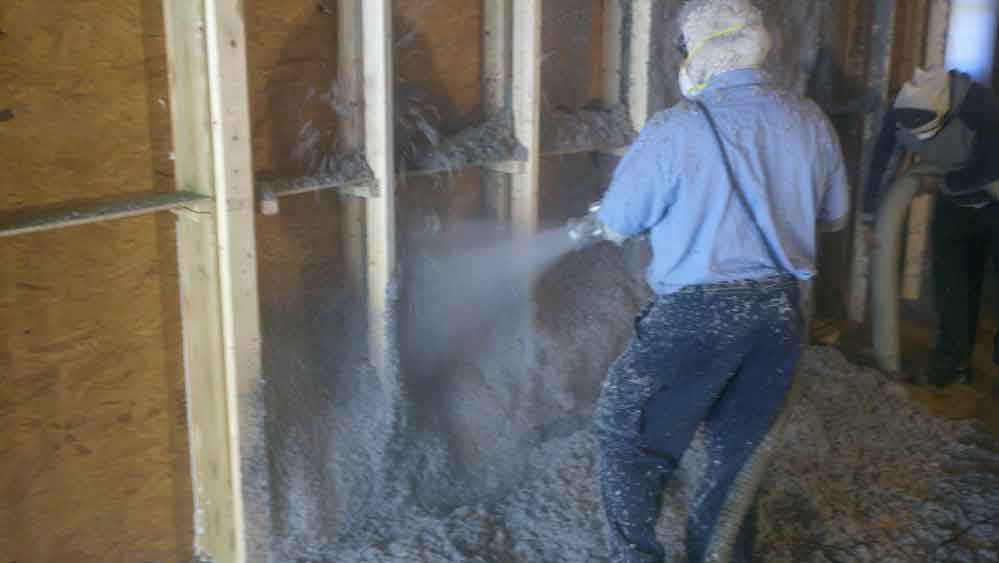
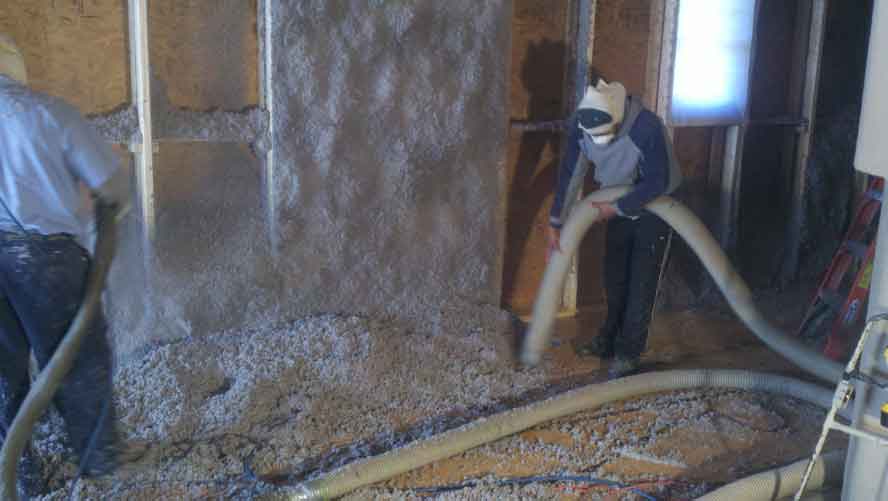
poles within the walls. As seen in the picture here my
thermal envelope extends up between the two girts right into
the ceiling cavity. I left the subfloor open inside
the walls so the cellulose extends also down into the floor
joist cavity thus giving me a continues thermal envelop
around the whole structure with no thermal breaks to speak
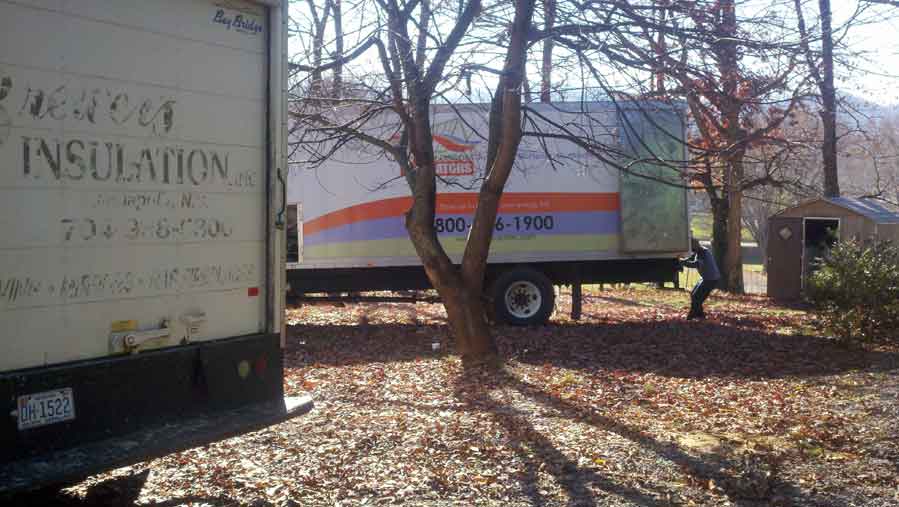
of. Between the walls, ceiling, and floor we got 193
bags of cellulose installed, 5700 Lbs of cellulose. I
had measured my cavities in the walls, floor, and ceiling
and calculated we needed 191 25lb bags to achieve 3.5 pounds
per cu. ft. We actually got two more bags into the
house.
skins similar to a SIP system The exterior covering is
the ZIP system, with all seams taped and caulked. The
ZIP systems is our moisture plane but breathable. The
interior skin is OSB board with seams taped and caulked.
No vapor barrier as I wanted the wall system to be able to
dry both directions depending on whether I was heating or
cooling the house. Because none of the walls are load
bearing the only thermal breaks (no headers etc) are the 8
poles within the walls. As seen in the picture here my
thermal envelope extends up between the two girts right into
the ceiling cavity. I left the subfloor open inside
the walls so the cellulose extends also down into the floor
joist cavity thus giving me a continues thermal envelop
around the whole structure with no thermal breaks to speak
of. Between the walls, ceiling, and floor we got 193
bags of cellulose installed, 5700 Lbs of cellulose. I
had measured my cavities in the walls, floor, and ceiling
and calculated we needed 191 25lb bags to achieve 3.5 pounds
per cu. ft. We actually got two more bags into the
house.
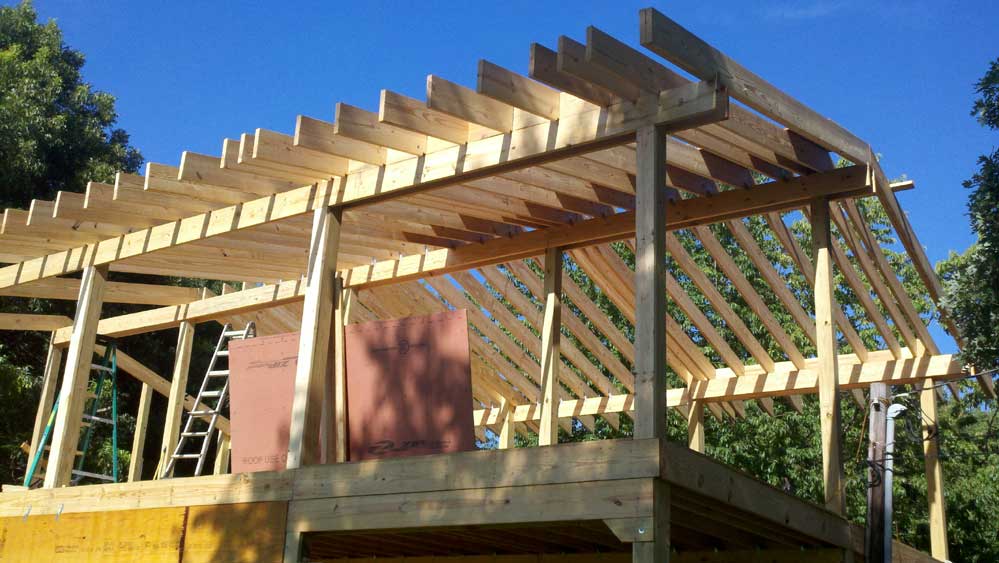
Mistake
made
- 2x10 blocking was used to close off the ends of the
rafters. I wrongly assumed the high density
cellulose would prevent air movement at this section of
my envelope. Wrong - I should have foamed this
area and thus would have hit the passive house standard
of .6 ACH @ 50. This question arises why my
inside skin did not stop the little air leakage I have.
In talking to Gary Nelson at the Energy
Conservatory he informed me that OSB is very leaky and I
would have had to paint it as they do with their test
rooms to lower my blower door number. Did not do
this as I wanted my wall to be able to dry to the inside
as well as outside.
Ceiling
- have high density cellulose between the 2x10"
rafters. Then a skin of OSB. Unlike my double
walls with no thermal breaks my rafters presented the
problem of a large percentage of my ceilings with a thermal
break. To eliminate this break we installed 1 inch of
ridged insulation over the OSB skin then our metal ceiling over this. I used foam
board with a reflective surface facing towards the heated
space. With the corrugated metal I have about 50% of
the ceiling having the ability to reflect the heat back
towards the metal. Not sure if this does much good, no way
of measuring the effectiveness but figured it could not
hurt. Click image to see details.
OSB skin then our metal ceiling over this. I used foam
board with a reflective surface facing towards the heated
space. With the corrugated metal I have about 50% of
the ceiling having the ability to reflect the heat back
towards the metal. Not sure if this does much good, no way
of measuring the effectiveness but figured it could not
hurt. Click image to see details.
I am not spending the money to have
the house certified as a Passavhaus but think we will come
close the German standard for a Passavhaus.
Click Here for what makes a house a Passavhaus
We are already well below the
Energy Star standard. For North Carolina that is 5
ACH@50 and we are at .07
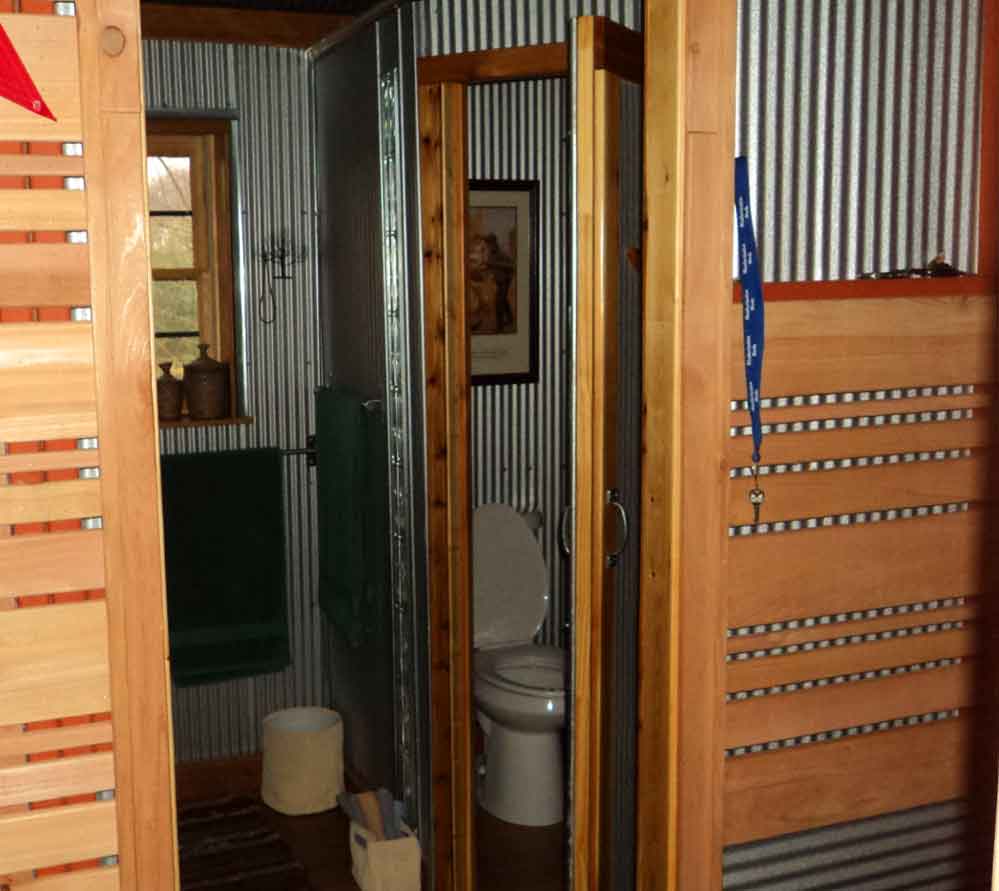
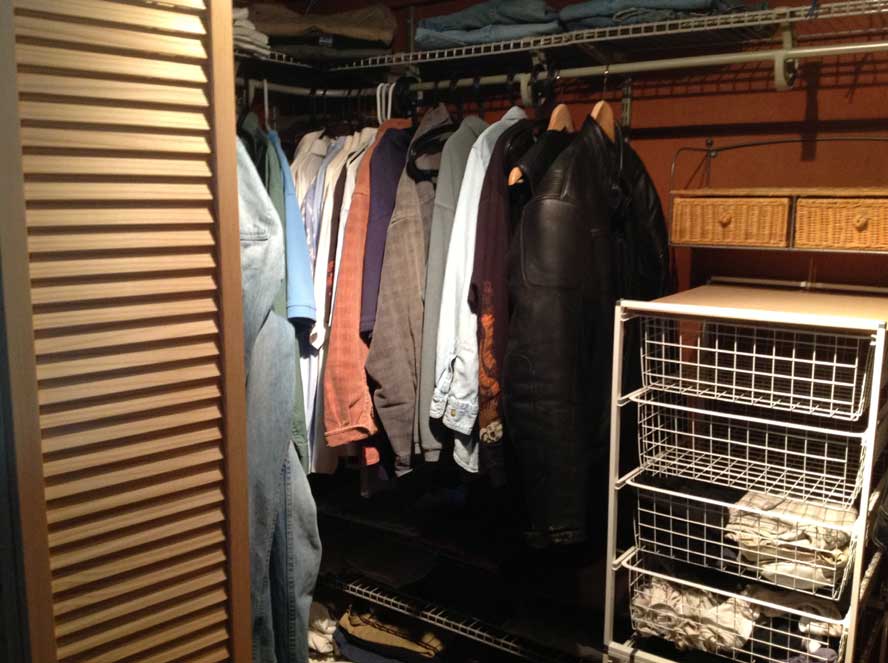
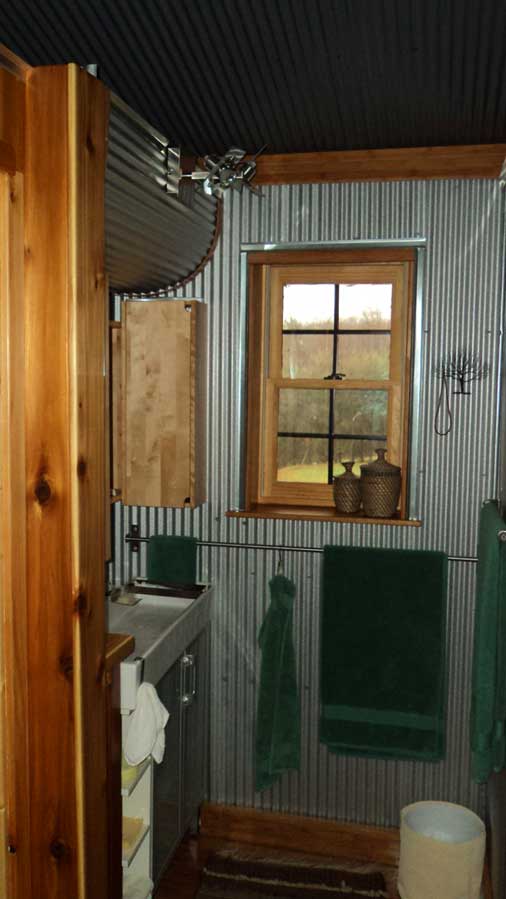
Moisture
and Mold Concerns
Of the three driving forces in the
planning stage, Cost, Energy Use, and Moisture control,
moisture issues were one of my biggest concerns. In my
years of housing inspections I have seen many homes
destroyed by moisture. I have lived in homes where
leather coats and shoes would grow mold in the closets.
I have never seen a basement or crawl space that I wanted
under our new house. Following are some of the design
ideas we used to reduce the moisture issues so common in
many homes:
- No roof penetrations to leak,
vents went out side of house
- House built 7 feet up off the
ground to get away from ground and moisture
- 4 foot overhangs to keep rain
off siding, windows, and doors
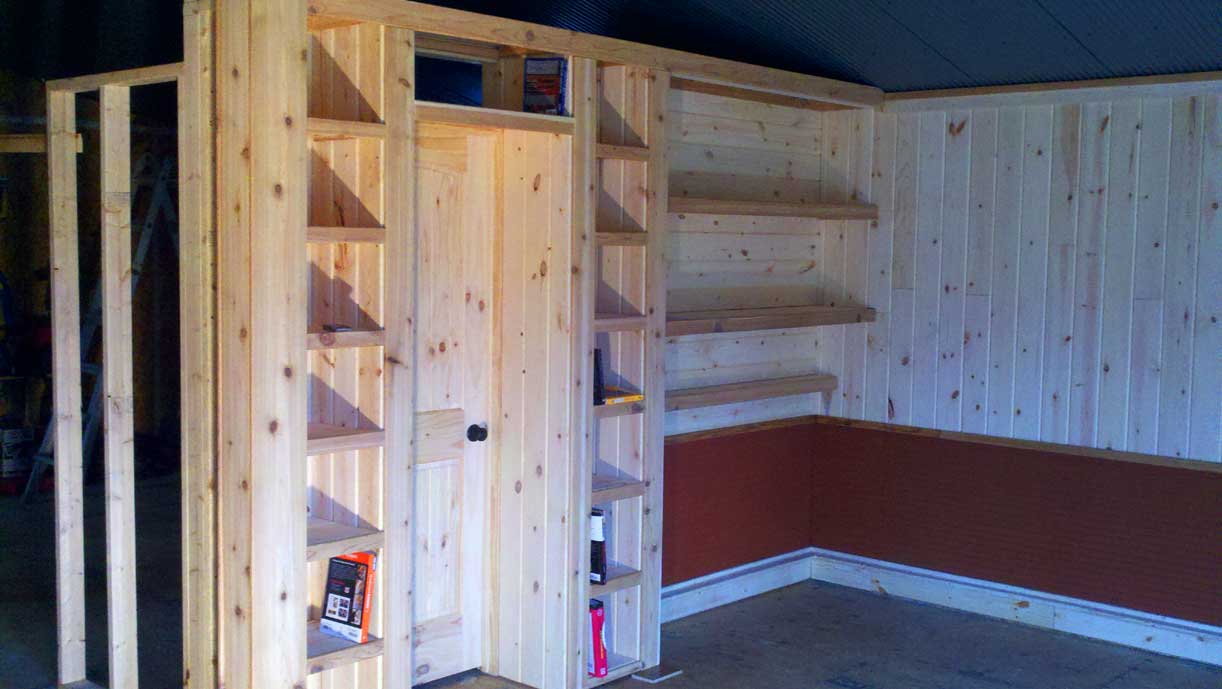
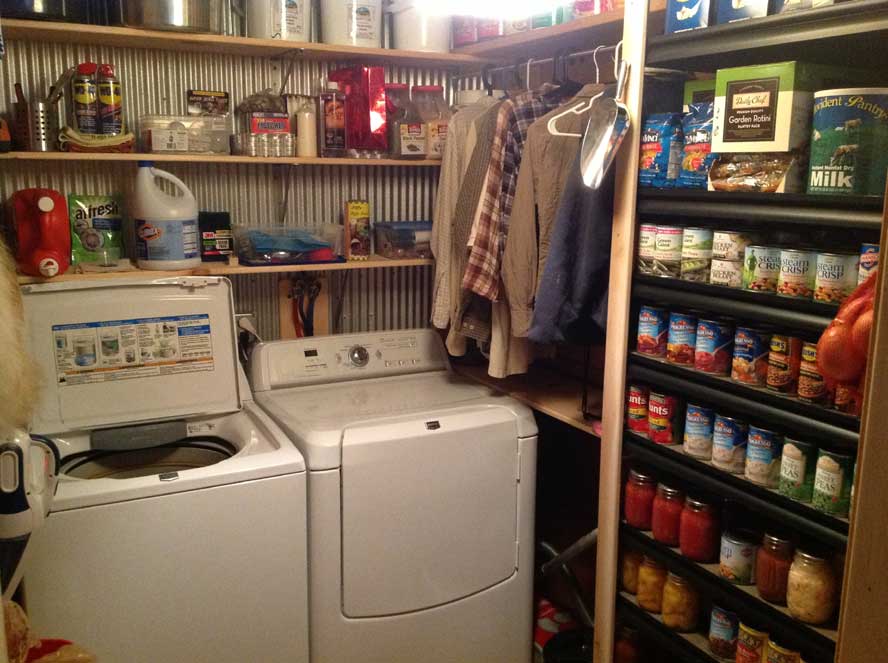
- Closet has levered walls,
open ceiling to house, wire shelves and drawers to
promote air circulation
Even as tight as the house is
we had no condensation on our windows during the winter
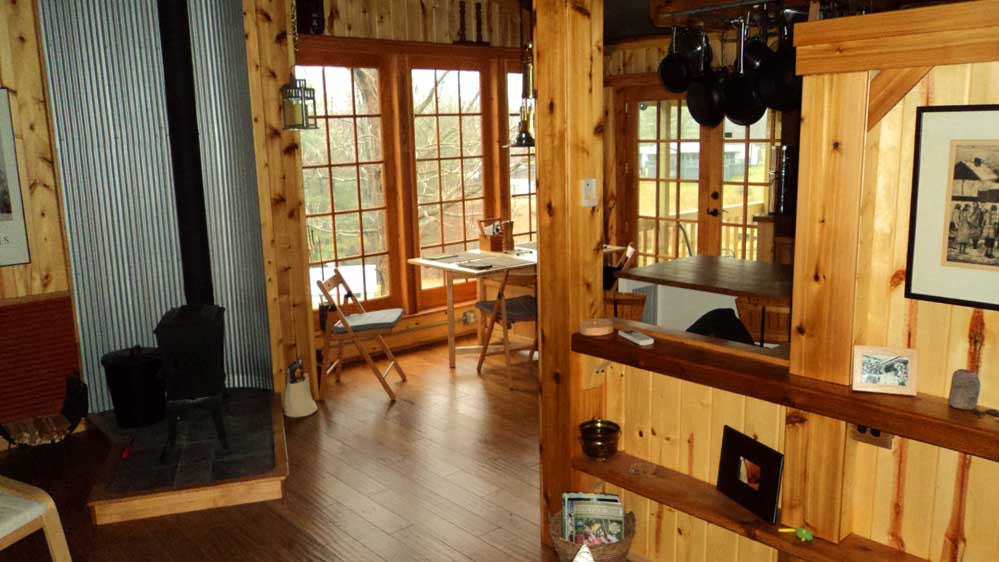
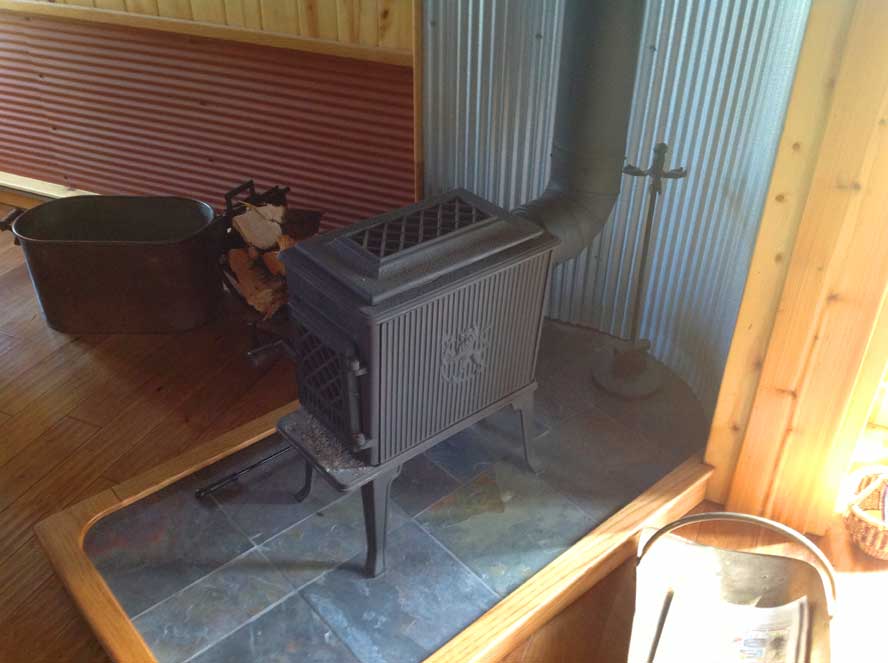
Heating
Systems
My wife having grown
up in Vermont wanted a wood stove, I love her so she gets
what she wants (most of the time). We purchased the
Jotel F 602, the smallest unit they make. Wish it had
been available with outside air intake but would have had to
go with a bigger model for that. We can take the chill
off the house by burning our junk mail sometimes.
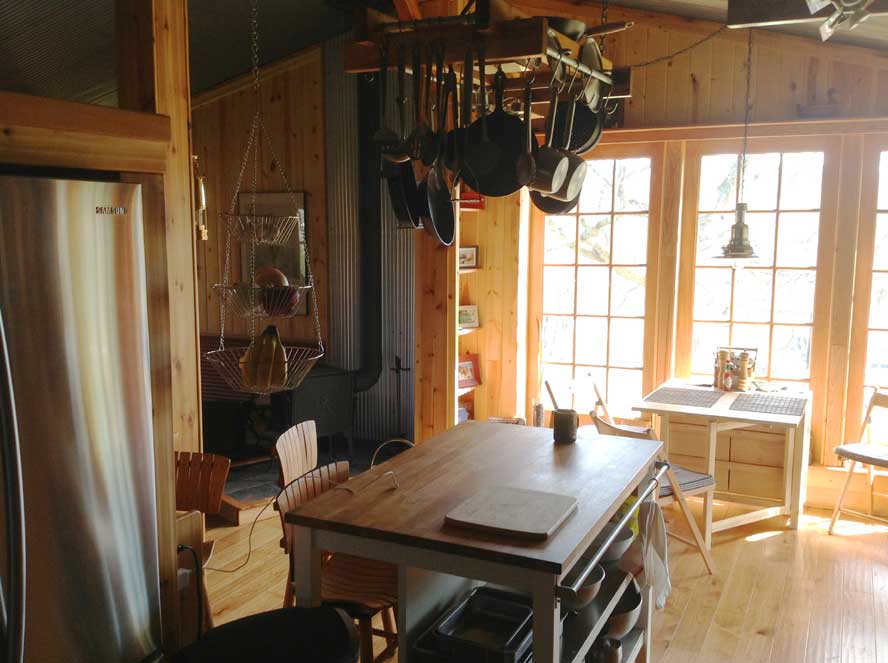
Our other heat source
is a Mitsubishi 1 ton mini split, HSPF 8.2 with a SEER of
17. Wanted a half ton unit that they now make with a
27 SEER but our local heating company sold me their floor
model for $900. Could not pass up the deal. We
do not anticipate using air conditioning so it will not be
oversized. We believe in fans for the hot days and
here in the mountains, last summer, I could cool the house
down by night ventilation, close the windows in the morning
and house stayed very comfortable all day . This unit
has a very efficient drying mode we may use from time to
time when weather is really humid. Our maximum heating
load was calculated to be 5,200 btu/hr.
My only gripe about
the mini split is that I can set the thermostat at 65 to
have the unit come on during the night if heat was called
for, but this model unit does not shut off. Runs in
sort of a coasting mode pulling air through the wall unit to
sample air for thermostat. In this coasting mode it
put out a small amount of heat and in our house this
overheats the house. I have many times left the unit
on set to 65-67 degrees and it heats the house to 72 plus.
Am looking for a high voltage thermostat that would solve
this problem.
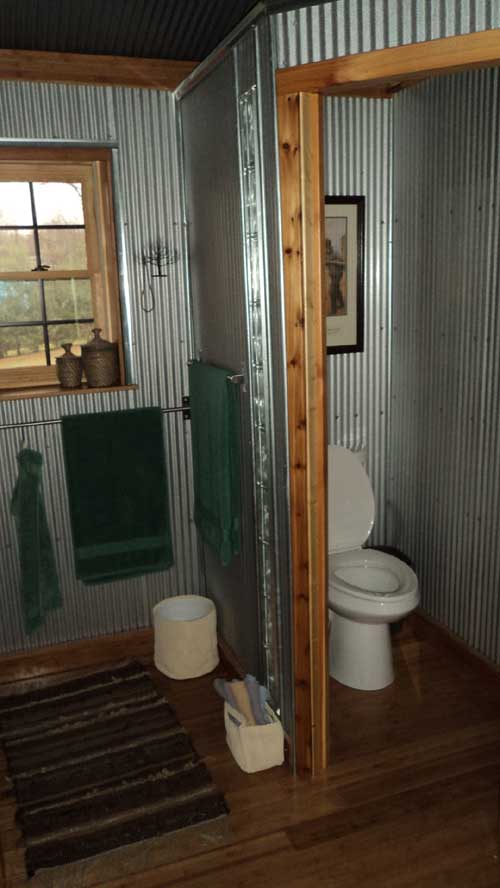
With both heating
sources in the living room I was worried the far side of the
house, where the bathroom is located, would be cold.
But the entire house stayed within 2 degrees temperature
from one end to the other. Made me a happy
camper.
Cooling
Needs
My design ideas for
cooling are paying off. We are into July and are able
to have a very comfortable house with no AC. Here is
how we achieved this:
- We have a light
color reflective metal room and and reflective metal
walls thus no solar thermal gain during the day
- Our main area of
glass on the south west side of the house is shaded by 3
large oak trees, thus we are using vegetation for
cooling
- We have 4 foot
overhangs to keep sun off walls and windows
- Have built
outside cooking area to keep cooking heat out of the
house.
- Night are cool
here in the mountains, we vent house at night and shut
the house up in the morning, house stays very cool all
day
DWH
System
We built a small 10x12
room under the house with a dirt floor and a small raised
pressure treated platform to hold our 40 gal. hot water tank
and well pressure tank. This room will also be our
root cellar. I am stripping 2 old DWH tanks and will
plumb them in ahead of my hot water tank. They will
serve 3 purposes. First they will temper our well
water before it goes to the hot water tank, second the cool
tanks will cool our root cellar, and third we will have 100
gal plus of potable water if grid is down.
Will be building a
simple solar water heater this summer and hope to upgrade
the system to produce the majority of our hot water needs in
the future.
Performance so Far
Well we have been
through our first heating season, here in Asheville winter
was setting in when we moved in mid December. As best
as I can calculate we used app. $40 worth of electric
running the mini split heat pump on occasions and burned
app. 1/8 cord of wood. Many times we built a small
fire in the evenings for the ambience and had to open doors
to dump heat. Would take the house to 80 degrees very
quickly. We found though letting the small fire die
out before going to bed the house would still be 72-75
degrees in the morning with outside temp's in low 20's.
Several times I baked
bread in the evenings and the heat from the oven would carry
the house all night and still be over 70 degrees in the
morning with outside temp's in the low 20's. We rarely
get below 20 degrees here in the mountains, why do you think
I moved here. Also does not get real hot in the
summer. Perfect climate for the east coast.
Can we
hit zero fossil fuel energy for heat?
I believe we have a
shot at it. As best as I can tell our internal heat
gains offset the heat loss down to about 38-42 degrees,
below that need some heat in put. I plan to build a
8x12' solar heater on the south side of the house much like
the window box heaters. I think with the amount of sun
we get here in the winter I can heat the house during the
day and temp should hold over night. The house only
drops a couple of degrees overnight and really holds the
heat generated during the day.
On the baseload side
when I get my wife's thermal nuclear clothes dryer installed
(ie clothes line) and our solar hot water system
installed I believe we can get down to app. 200 KWh per
months which would put us well under the Passive Haus
standard. I still have a few light to change out and
we will be at total LED lighting.
IAQ
Issues
This issues after
living in the house through the winder was a surprise.
I assumed we would have high humidity issues etc and had
fully planned on a HRV or ERV system for the house.
At this time my only way of measuring if the house needs
fresh air is the humidity levels. But we never went
over 60% during the winter. I plan on getting a CO2
monitor to have a better idea when house needs vented but
have not had the extra $200 plus to purchase yet. So
with a house at 108 CFM@40 what is going on?
Here is best current
guess at this point. My Panasonic 80cfm bath vent runs
for 20 minutes a day with two showers. If have it
programmed to run for 5 min. when shut off after shower.
So there is 1600 cfm of air turnover. Doors are opened
probably 30-50 times a day, we are both smokers but go
outside to smoke. When cooking and producing a lot of
steam we use the kitchen vent. These forms of venting
would not be as effective on a 4,000 sq ft house as they are
on our small house is my thought.
Lastly we like the
wood stove for the ambience and heat. Not sure how to
calculate the volume of flue gas going up the chimney but
best guess is 20-30 cfm's. So in essence the wood
stove is ventilating the house by pulling a small amount of
fresh air around my bath and kitchen vent dampers and small
amount of leakage on doors. So unless our CO2 meter
shows readings of 800 plus ppm of CO2 next winter we will
forgo the HRV system. If CO2 reading are high probably
will forget the HRV system and put in small intake on the
solar box heater and use the Panasonic fan set at 20-30
cfm's during the day and pull heated air through the house
with this method. Stay tuned, it is a work in
progress.
Tight
House Issues
We have had some
interesting issues with a super tight house. The house
is tight enough that when you open the door the bath and
kitchen vent flappers make noise. If we have a small
fire in the woodstove smoke is pulled out of the stove by
opening the front door. We quickly found we could not
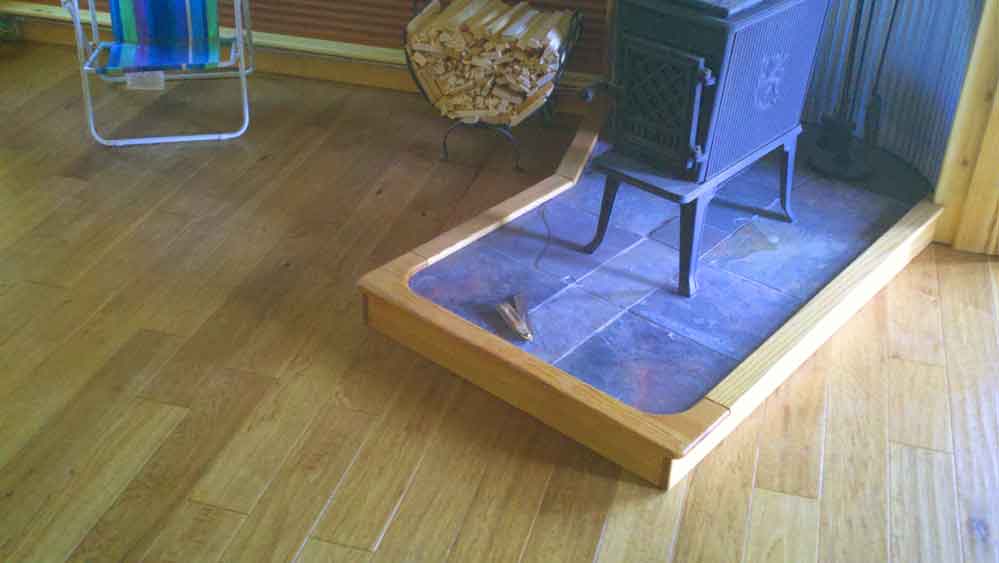
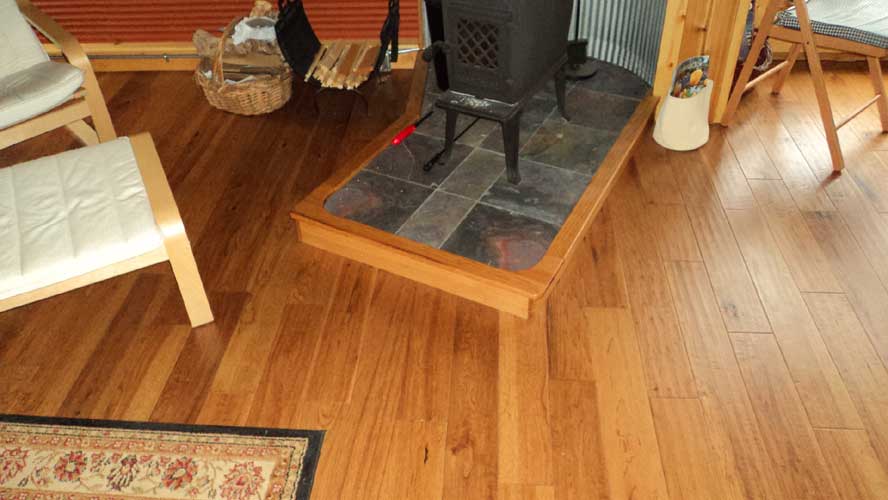
have a fire and run the bath vent or clothes dryer. To
solve the problem I installed a 4x10" vent in the floor by
the woodstove ducted to the outside. We now crack this
vent open when running the wood stove, problem solved.
By the way my 80 CFM bath vent can take the house to
negative 12 Pa and with the kitchen vent and bath vent
running at full steam can take the house to negative 112 Pa.
That's tight.
Final
Thoughts
We are
extremely happy with the house. It is a very
comfortable space to live in, heats so well and
cheaply we can have the house at 75 degrees on cold
windy winter days and not feel guilty. We went
slightly over our budget of $35,000 but only by a
couple of thousand dollars. We did put in app.
4,500 hours of labor on the house, lot of detailed
wood work in the house. We both believe there
is the possibility of the grid being interrupted so
built the house to heat with wood, cook with propane
(have app 2 years supply of propane) and will have
water storage from our rain catchment system.
Will be installing a barrel high on the house and
running plumbing with tee and shutoffs so we can
flush the toilet if grid is down and have a Berkey
water filter to make the rain water safe for
drinking. We built a storage room and have 15
months of grains stored. We have no mortgage
so can live pretty cheap in the house.
After 3 months living in the house not
many things we would do different again. Perhaps go a
little smaller, could live comfortably in perhaps 700 sq ft.
Many people are surprised we were able
to build the house so cheaply. The answer is we used
our own labor, built small, and used the pole construction
method which saves thousands of dollars on a foundation
system. We could have built the house for perhaps
$5.000 less if we had used sheetrock for interior walls
instead of the metal, cedar, pine, and oak walls and
ceilings. We also used a mid price flooring, hand
scrapped hickory flooring. The last thing that helped
with the cost was we knew 3 years in advance we were going
to build therefore purchased and stored much of the building
materials, kitchen cabinets, etc on sale. But our
final cost was app $41 per sq. ft.
Anyone can have a
Passive Haus with net zero energy if they spend the money.
30-40,000 dollars for a PV system, 12-15,000 dollars for a
ground source heat pump, 5-8,000 on a solar hot water system, etc, etc. We feel we achieved
something by building an energy efficient structure in a
price range for the lower middle income family range.
This summer plan on installing sub
metering on DWH and Heat Pump to have a better understanding
of usage on the electric baseload and heating costs plus a
CO2 monitor
4/9/13 update, last night temps were
in mid to upper 40's. With nothing but internal heat
gains house was at 76 degrees this morning, Sweet
4/19/13, monitoring electric usage for
past couple of weeks, averaging 9 to 11 Kwh per day.
7/1/13 We have had some warm
weather in upper 80's yet zero air conditioning costs so
far.
House Stats
Floor Area
= 897
Wall Area = 1053 sq ft
Window Area = 81 sq ft
Door Area = 61 sq ft
Window to
Floor Area = 5%
Net Wall Area = 902 sq ft
Percentage doors & windows to wall area = 14%
Percentage to surface area = 5%
Ceiling Area = 920
Total Gross Surface Area = 2883
Net
Surface Area (minus doors & windows) = 2738
Volume = 9120 Cu Ft
Windows at
.29 U-value, R-value 3.4
Surface area at .025 U-value, R-value 40
Weighted
Average - .0376 U-value or 27 R-value
Year
Heat Loss at R-27 or .0376
.0376x2883 (surface area)x4100 DD x 24 = 10.6
million BTU's of heat needed, 4-5 million
though gained internally from body heat,
lights, fridge, computers, etc. But this
number is wrong because it is based on a
base temperature of 65 degrees. My
best guess for our base temperature is about
38 degrees. Above that temperature our
internal gains offset the losses.
I suck
at math so above calculation may be all
screwy.
Finally my
thanks to Apple Blossoms and John Meeks for the
free cellulose blowing of the home and our son
Carl who took off work for a few months to help
Cill and me get the poles up, roof on, and
sheathing on the house.
|